Game Development Reference
In-Depth Information
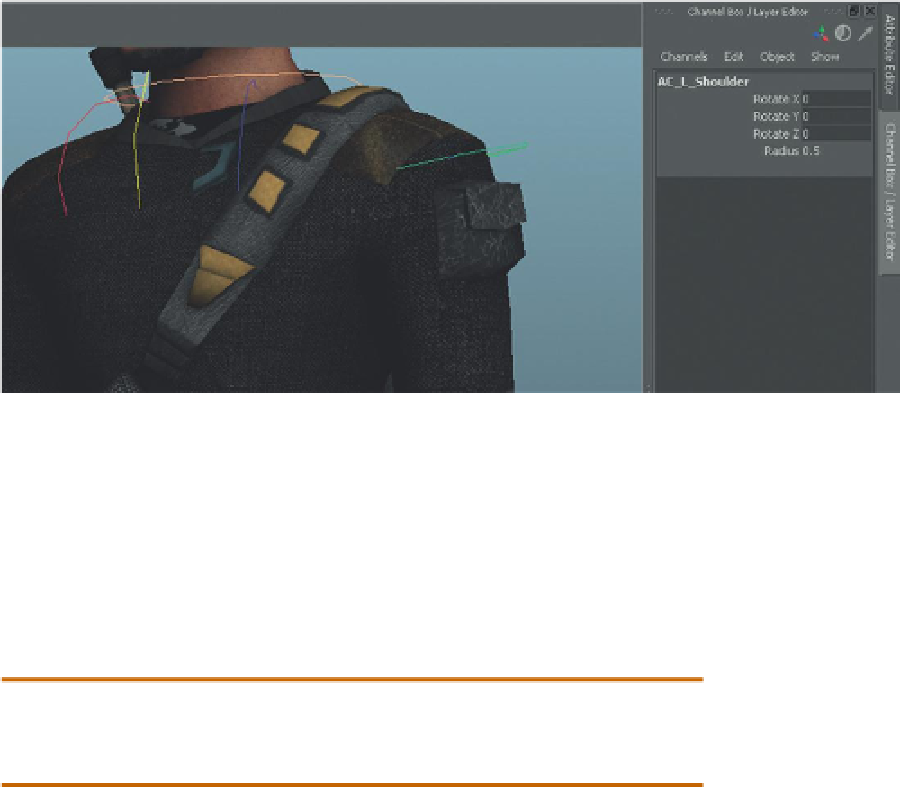
Figure 10.33
Results of Lock and Hide selected.
Why?
We are only going to rotate the shoulder. We will never move or scale
that joint. By locking the values, we can set quick keyframes by pressing
S on the keyboard and not record move and scale keyframes. This makes
editing much easier. Similarly, by hiding these transforms, we inform
other animators who may inherit this rig that the only attribute meant to
be animated is rotation.
Step 66:
Repeat this process for all joints in the upper body. Remember
you can do this for multiple joints at the same time.
Why?
Why not the lower body? In the legs, the rotation of the joints is not
controlled directly by us; that is, we won't be selecting the knee (for
example) and rotating it. Rather, we'll be moving (and rotating) the foot
handles we created earlier. These foot handles happen to contain children
that are the IK handles that control the rotation of the leg joints through
IK calculations. So no need to mess with those.
Conclusion
And with that the rig is done. It is one of the more basic rigs that you may see in
Maya but will still provide a very good level of control. If you've dealt with higher-
rez rigging solutions there is likely some missing rig handles you're complaining
of (no handle for the entire rig, etc.). But in game animation, the character will be
doing most of the animations in place, so there is little need to move the entire rig
at any one time; therefore, we can leave those sorts of handles out.
The next step will be to get these joints so that they actually influence the
mesh they are inside of.