Game Development Reference
In-Depth Information
Step 62:
Change the color of the left-side joints to blue and the right side
to red. To do this, select AC_L_Clavicle and open the Attributes Editor.
Look for the Display section and the Drawing Overrides section beneath
that. Click the Enable Overrides checkbox and use the Color slider to
pick a pretty blue. This will change all the joints all the way down the
arm (although you won't be able to see the change until you click away
from the joint). Repeat this for AC_R_Clavicle and choose a red color
(
Figure 10.32
).
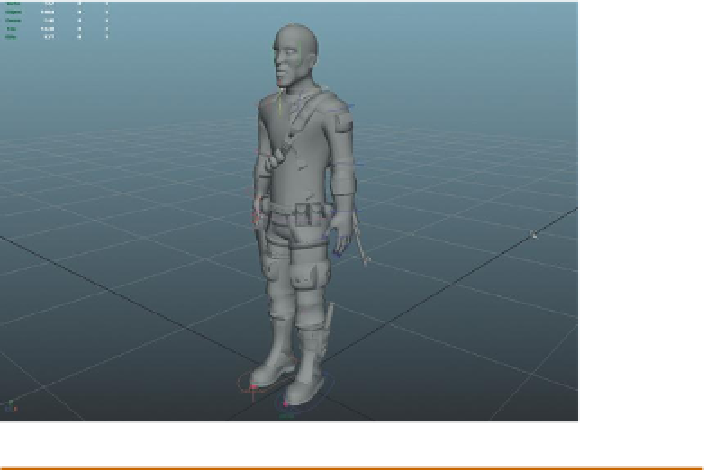
Figure 10.32
Colored joints.
Why?
Once the animation process begins, there are going to be a lot of circles
floating around. Sometimes, especially when animating from the
side-view panel, it can become pretty difficult to see which side that circle
represents. By color coding it becomes much easier to identify joints.
Step 63:
Color code other upper body joints as desired. You may wish to
color code all the back joints one color and the head another, and so on.
Step 64:
Delete unnecessary joints. There are several joints that we placed
that will actually not affect the polygons: the tips of all the fingers and
thumbs (AC_L/R_FingersTip, AC_L/R_ThumbTip), the jaw tip (AC_Jaw_Tip),
and the head tip (AC_Head_Tip). These joints were placed to give the
joints that were their parents a location to point to, but they actually serve
no purpose now. By deleting these joints (now that their parents are all
oriented) we can further streamline the data set.
Step 65:
Lock and Hide unwanted transforms. Start with AC_L_Shoulder.
Select this joint and activate the Channel Box. Select the
words
Translate
X, Translate Y, and Translate Z (not the input fields). Right-click-hold and
choose Lock and Hide Selected. Next, do the same for Scale X, Scale Y, and
Scale Z and Visibility (
Figure 10.33
).