Game Development Reference
In-Depth Information
Tutorial 10.2: Maya Skinning
Skinning is the process of attaching vertices to joints. This means that each
vertex can be influenced by one or more joints and as that joint moves (or
rotates) the vertices go with it. Getting the right amount of influence for
each vertex to the correct joint or collections of joints takes a little bit of
refinement; however, getting the skin (the mesh) weighted (assignments to
joints) correctly is a very important part of the process.
Step 1:
Bind the skin to the joints. To do this, select AC_Root and
then shift-select AC_AegisChung_SM. This selects the parent-most
joint of the skeleton and the single mesh that is Aegis Chung. Select
Animation>Skin>Bind Skin>Smooth Bind (the default settings should
be fine).
Why?
Smooth binds are binds where vertices can share their influence between
several joints. For most organic situations, smooth binds are the method
of choice. It means places like the front of the knee can spread their
influence across a couple of joints to get a gentle bend. Alternatives such
as Rigid Bind work on the idea that each vertex is 100% assigned to one
joint. Although there are some really interesting and compelling uses of
Rigid Binds with other deformation objects (Lattices for instance), for our
purposes we'll go with Smooth binds.
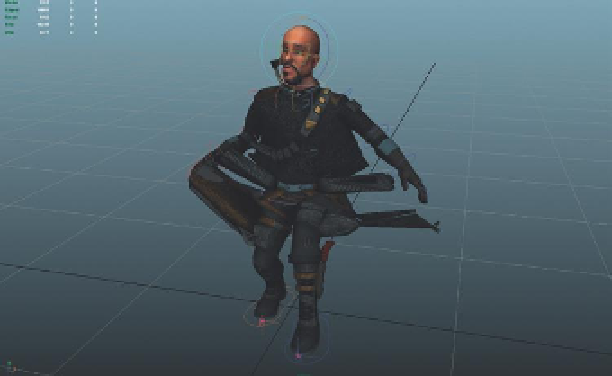
Step 2:
Test the bind. Do this by moving Aegis. With the Move tool, grab
AC_Root and move it around (he should bend his knees and squat), use
the Rotate tool to bend the arms, wrists, head, jaw, and so on. Basically
pretend he's a doll and pose him to see how the default bind holds up
(
Figure 10.34
).
Figure 10.34
Posing with the
default skin binding. I hope yours
looks better than mine….