Game Development Reference
In-Depth Information
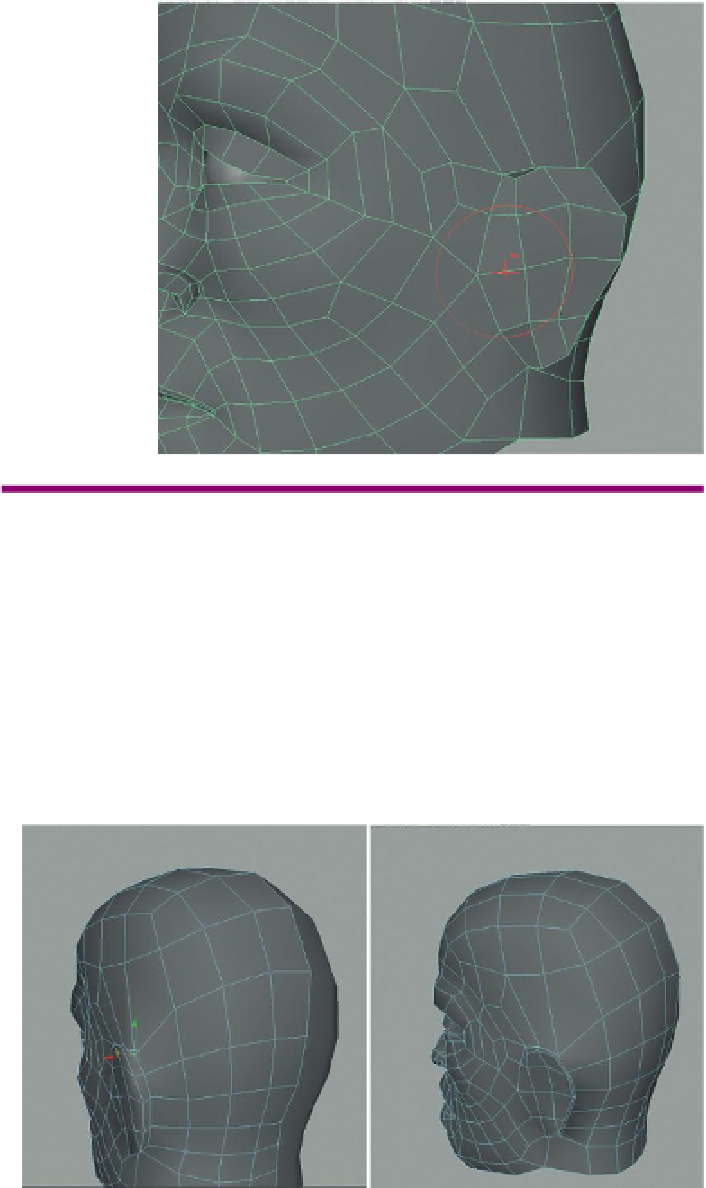
Figure 8.42
Smoothing out the
front of the ear with the Sculpt
Geometry tool.
Tips and Tricks
The smooth part of the Sculpt Geometry tool works by averaging the
value of the vertices included within the radius of the brush. For best
results dial that brush in or out so that it includes approximately the
number of vertices shown in
Figure 8.42
. Again, make sure to use a low
Opacity setting (0.1 or less) to gently get the result desired.
Step 61:
Create the back end of the ear by moving the vertices in to create
the helix part off the head (
Figure 8.43
). If need be, use Insert Edge Loops
to add geometry if added shape is desired.
Figure 8.43
Creating the trumpet
part of the ear by moving existing
vertices.
Step 62:
Continue to tweak existing vertices to get the shape of the ear
right. This may include a bit of work on the lobule section of the ear (ear
lobe;
Figure 8.44
).