Graphics Programs Reference
In-Depth Information
3.
Click Add Missing Face if necessary
. A rectangle appears that you drag and resize to
frame the face. Then click the Click to Name button and type the name. If there's more
than one person in the photo, click the button again and repeat the process.
4.
Click Done to exit and continue viewing your images, or click the right arrow next
to the name to enter Faces.
Doing the latter opens Faces showing all images of that
person that have been identified on top and images that might be that person on the
bottom.
Continue as described earlier to confirm or reject these other images.
Renaming a person
If you discover you've given someone the wrong name, you can easily correct it by taking these
steps:
1.
While in the Viewer or Split View mode, select the image with the incorrect name.
2.
Click the Name button in the toolbar.
3.
Click the name, and then type the correct name in the text field.
4.
To delete the name entirely, click the X in the upper-left corner of the positioning
box overlay that's over the person's face.
The image becomes unnamed and is not
included in Faces. To leave the image in Faces but have it become unnamed, click the X
to the right of the text field containing the name.
5.
Click Done when you've renamed or unnamed the image.
Finding people using Faces
One of the purposes of adding names to your photos is so that you can easily find pictures of that
person. To find images of a certain person that you've already named using Faces, follow these
steps:
1.
Open the Faces dialog.
2.
Type the person's name in the search
field at the top right.
Aperture limits
the corkboard display to that person.
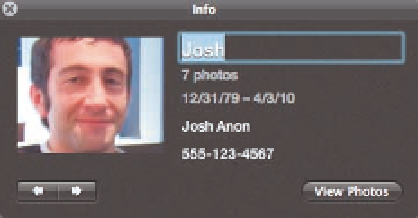
3.
Click the small
i
in the lower right cor-
ner of the person's photo on the cork-
board.
A new dialog appears as shown
in Figure 5.10.
5.10
Use this dialog to add information about
the person as well as to see all the photos you've
named of that person.