Game Development Reference
In-Depth Information
Note
It is important that the projection manipulator's orientation around the
mesh matches that of the upper arm. This will ensure that both sets of UVs
will follow the same lines when we come to edit them; for example, we
want the elbow's UVs to line up.
The basic UV mapping is now in place for the arm, but we need to work on it some more
before we are finished.
UV Manipulation on the Arm
With the basic mapping in place, we can now edit the UVs in the UV Texture Editor.
1.
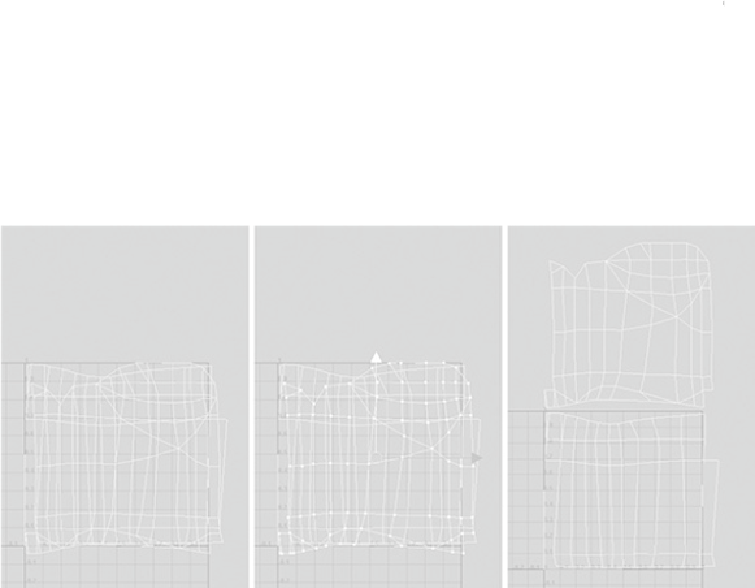
Select the arm and look in the UV Texture Editor. You can see in
Figure 8.36
(left)
that both sets of mapping overlay each other. We need them to be separate.
FIGURE 8.36
Adjust the position of the mapping for the arm.
2.
In the perspective view, select the faces of the upper arm. They will be highlighted
in the UV Texture Editor.
3.
Move back to the UV Texture Editor and go to Select > Convert Selection To UVs.
Both sections of the arm will be visible once more, but only the UVs for the upper
arm will be selected (
Figure 8.36
,
middle).