Game Development Reference
In-Depth Information
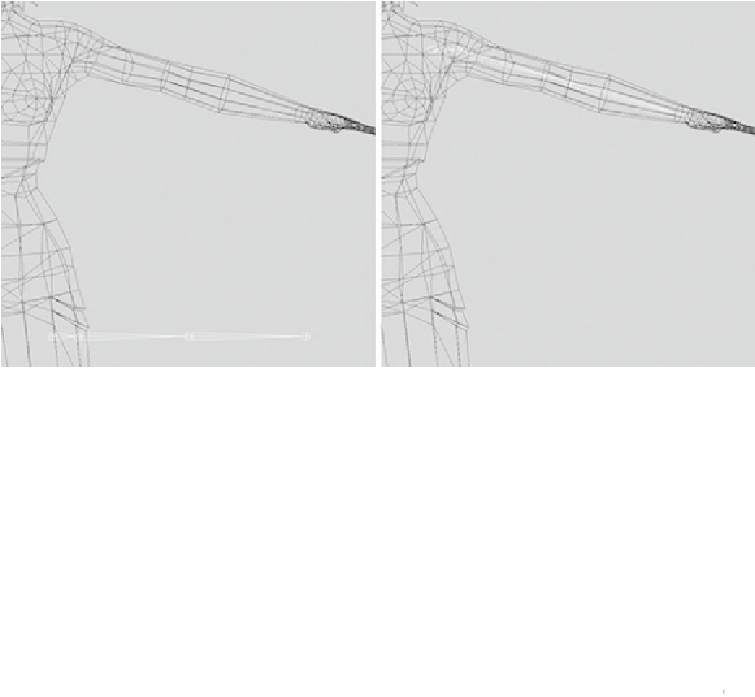
FIGURE 6.3
Move the joints up so they lie down the center of the arm.
5.
To fine-tune the positioning of the remaining joints by moving each in turn until
they are all correctly positioned down the center of the arm (
Figure 6.3
,
right).
Once you have the main shoulder joint in place, you can use the Rotate tool to pos-
ition the rest if you prefer, although it's not essential.
Tip
If a series of objects are placed in a hierarchy, you can select the children
or parent by using the arrow keys. Pressing the up arrow will move up the
chain; pressing the down arrow will move down the chain. This process is
called “pick walking.”
This is all we need to do at this stage to build a basic skeleton, so let's continue with our
arm setup.
Skeleton Binding
Nowweneedtoattachthemeshtothejoints.Theskeletonessentiallydrivesthemodeland
deforms it for us.
1.
Select the first joint of your skeleton. Then hold Shift and select the geometry so
that you have both the skeleton and the mesh selected.
2.
Open up the options for a smooth bind (Skin > Bind Skin > Smooth Bind).