Graphics Programs Reference
In-Depth Information
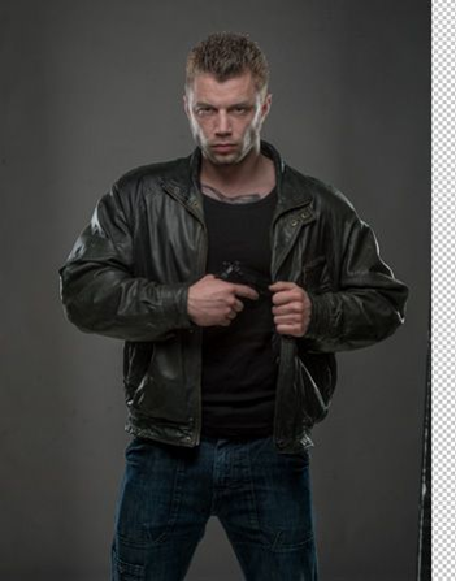
Figure 7.5
3.
Fill in this transparent area with the Clone Stamp tool set to Current & Below
(
Figure 7.6
)
, so that the result is an even amount of background on either side of
the model. Don't worry about blending this area perfectly because we'll be adding
textures; an uneven background will add to the final look.
Figure 7.6
4.
The next step isn't an essential part of the retouch but rather personal taste; it uses
the Color Efex Pro 4 plug-in to pull out detail—a look that I feel really suits this
kind of picture. Click the bottom layer (the Smart Object), and choose Filter > Nik
Collection > Color Efex Pro 4. Choose the Detail Extractor, and using nothing but
the default settings, click OK. Back in Photoshop, click the layer mask that comes


Search WWH ::

Custom Search