Civil Engineering Reference
In-Depth Information
In general, even on log house restorations, a roof is
a roof, and you may choose your treatment. Because
heat rises and is lost mostly through the roof, this
is an important place to heighten energy efficiency
while maintaining as best you can the old look and
craftsmanship.
Here's a hint: If you want to show rafters and col-
lar ties but can't reuse or get good old replacements,
you can have new ones sawn and stained to darken
them. The circle-saw marks from modern sawmills
may kill the effect for you, however. When I want as
authentic a look as I can get from new wood, I either
hew it by hand with broadaxe or adze, or I have it
bandsawed. This can be done with one of those popu-
lar portable units. Bandsawing leaves straight marks
similar in appearance to those of the old pit-sawn pat-
tern, which are much more pleasing. Of course if you
plane the wood, it doesn't matter.
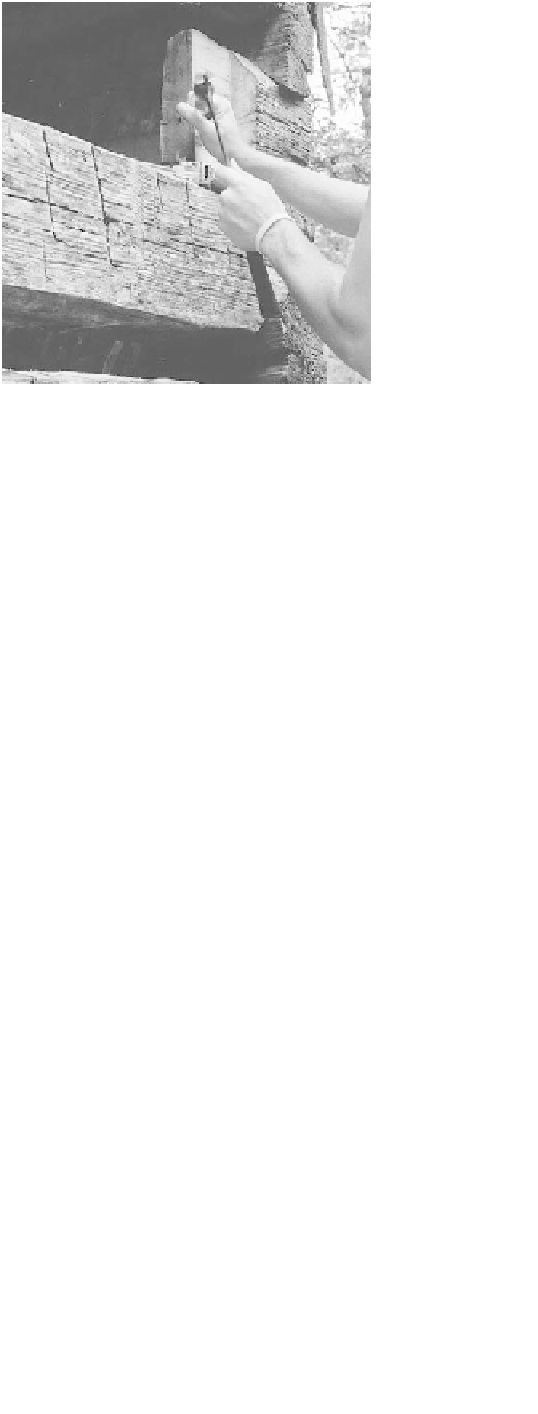
Lap-jointing a log into a short corner to extend and
stabilize the log wall, which had been cut away
long ago. Every second log was replaced entirely
for stability. The wood will be wire-brushed to
blend better.
Engineering Feats
If you're restoring your log house on-site, you will of
course want to keep everything that looks sound.
Sometimes even restoring a log house on-site requires
major if not total dismantling. Unfortunately, it's often
necessary to dismantle in order to get at or even to see
all the damage. But if it is not major, some replace-
ments and repairs can be done piecemeal. Some of this
work is relatively easy. Replacing major logs, such as
sills or spanner logs, becomes an engineering feat.
Most often there will be decayed logs to replace.
And most often these will be at the bottom in the
hardest place to reach. Settling foundation stones or
dirt washing against the structure can put the sills in
contact with the ground, where rot and termites can
go to work.
I have seen termites eat up through a corner notch
necessitating the replacement of logs in both direc-
tions. If they have chewed only the sill or any logs on
one log face, you can support the whole wall. Carefully
lift out the bad log or log segment and replace with an
age- and size-appropriate log.
To replace lower logs, we support the next log
above using a piece of channel iron about two feet
long with hydraulic jacks under both ends, one inside
and one outside the house. Then, instead of jacking
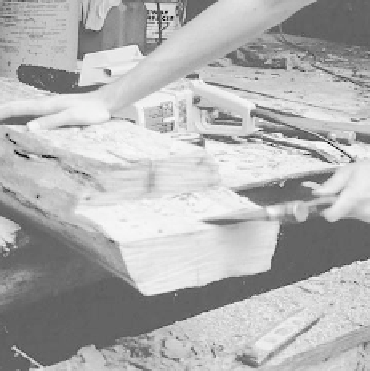
The matching half-lap is cut in the replacement log.
When working near other homes, we often use an
electric chain saw to cut down on noise and fumes.
up the house, which can crack windows and chinking,
we take just enough weight off the bad log to cut it into
pieces and get it out, corner notch and all if necessary.
Then we install the replacement, whether sill or
wall log, of similar, aged material. Obviously the cor-
ner notch will be a problem, because the log end won't
go through the smaller space left for it. We split off the
end, drive the new log through the opening, then use
construction adhesive to glue the split piece back in
place, clamping overnight.
If the corner notch is good, it's easier to half-lap a
replacement section onto the original. We lap at least