Civil Engineering Reference
In-Depth Information
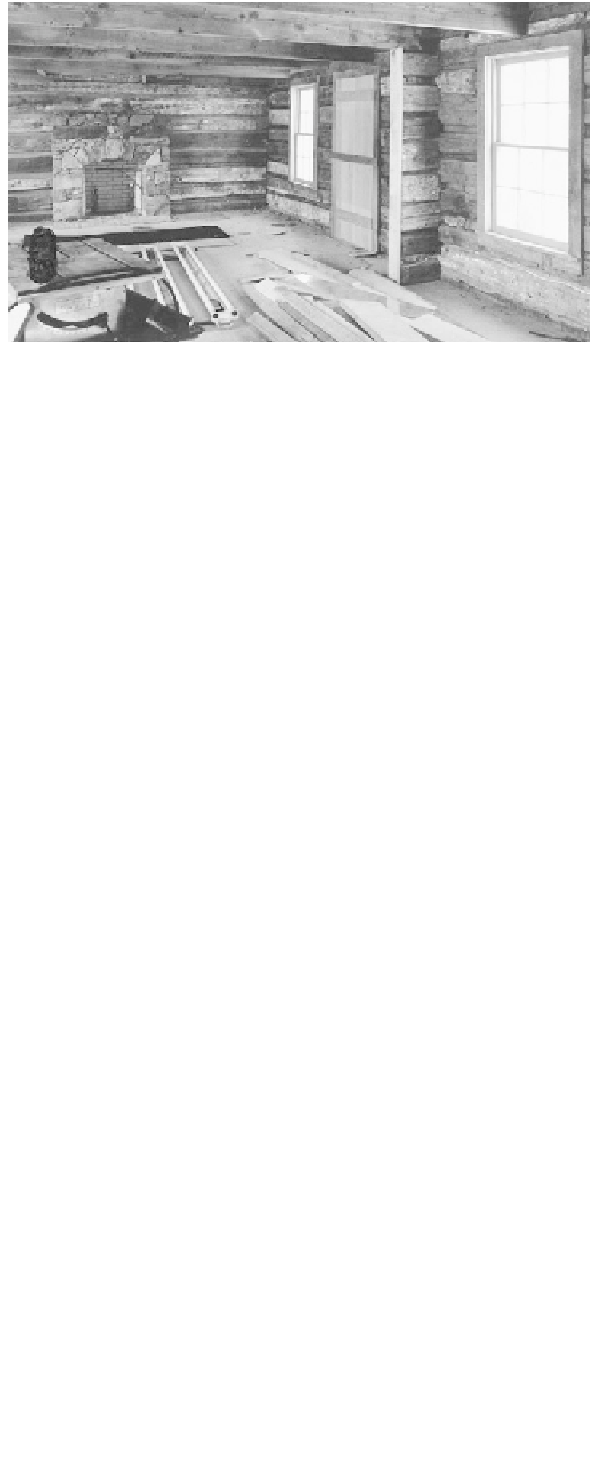
This is an example of an extended log wall where a three-way notch is
used to stabilize the end-to-end log with an intersecting log wall. Not
all the wall logs are end to end here, between windows. In this case,
the stub wall is a minimal two-foot wall because the owner wanted as
much open space as possible.
Preparing for Chinking and Electric
and Plumbing
Door and Window Bucks
Spike door, window, and fireplace bucks directly into
the ends of the logs, but not until the logs have sea-
soned and settled. Make a clean cut here. I leave the
log ends long until they're up, then make one long cut.
I like using the crosscut saw because I can control it
better, but a chain saw is faster. Only the greatest need
for haste drives me to use one.
One-inch oak or 2-inch pine is heavy enough for
these facings, and a 20-penny common nail is large
enough; use four nails per log. Don't use box nails in
oak. Those slender fasteners were designed for soft
pine, spruce, or fir. Even with common nails you may
have to drill an occasional hole, especially if your logs
are seasoned. I prefer the modern counterpart of the
old cut nail, square, now hardened for masonry, which
will go through anything. It's expensive, and you need
to drive its wedge shape with the grain, not across it, to
avoid splitting. Our forefathers bored and pegged these
facings with trunnels, the folk derivation of
treenail.
The facings (backs) hold the ends of the wall logs in
line, and should be mortised into and fastened to the
top spanner overhead and window or door sill log
beneath. After they're in place, you can pry off the
temporary strips (scabs) you nailed up as the logs went
into place. It seems it would be easier to start with the
facings themselves, but it's easier to trim the log ends
evenly when they're all up. And the logs need to settle;
allowing space for this has never worked for me. The
pioneers had an abundance of timber and built solid
log walls. Then they used the crosscut saw for the win-
dow and door cuts.
A time-saver before you raise the logs is one I learned
from Menno Kinsinger of Virginia's Shenandoah
Valley. Cut a chain-saw groove an inch deep about
1∏ inches in from the faces of the log on the under-
side. This is for the sloped chinking wire mesh to slip
into later, saving tricky fitting and nailing.
We also drill holes near door openings for electric
wire before we raise the logs. We use a one-inch bit to
drill up to wall switch height, then continue on up
through the top plate in at least one place. (See chap-
ter 11 for more on this process.)
Raising Logs
Getting the logs up onto the walls is a major under-
taking. Two to four men can wrestle 16- to 20-foot
hewn logs into place if the logs are under, say, 12
inches in diameter. But these are hard to lift to any
height. Long skids were usually the answer for the
early settlers, with the logs skidded up by hand or
cross-hauled by oxen or horses. Although it's slow, a
block and tackle will do the job. Skids or a vertical lift
from a tripod or boom provides the base for action.
The device I used for years was a full oak 2≈4
A-frame (gin poles) pivoted from the front bumper of
my Land Rover and braced with a guy cable over the
rig down to the trailer hitch. I ran the winch cable up
over a sheave at the peak and down to the log. Lack-
ing a winch, a ratchet hoist or “come-along” will do it
by hand. Either way, the log should be lifted at two