Graphics Programs Reference
In-Depth Information
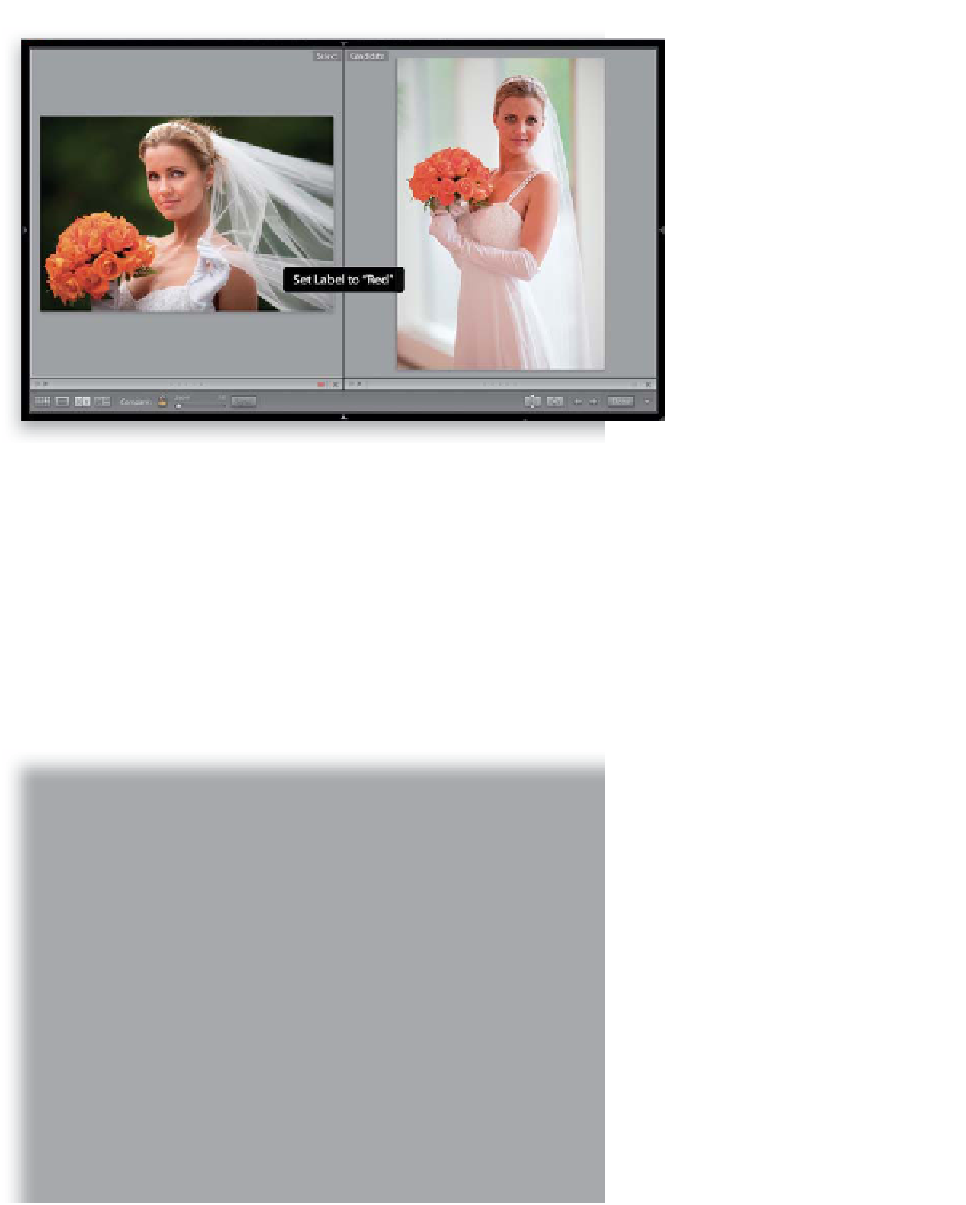
Step 22:
One last thing about Compare view:
once I've determined which photo is
the single best photo from the shoot
(which should be the image on the left
side when I get through all the images
in my Selects collection—what I call
“the last photo standing”), I don't make
a whole new Selects collection for just
this one photo. Instead, I mark this one
photo on the left as the winner by press-
ing the number
6
on my keyboard. This
assigns a Red label to this photo (as
shown here).
Step 23:
Now anytime I want to find the single
best photo out of this shoot, I can go
to the Library module's Grid view
(G)
,
click on Attribute in the Library Filter
bar, and then in the Attribute bar below
it, I can click the Red label (as shown
circled here), and bang—there's my
“Best of Show.” So, in this tutorial, you've
just learned a key part of the organization
process—creating collections—and using
collections puts both “your keepers” and
your very best photos from each shoot
just one click away. Next, we'll look at
how to organize related shoots that will
have multiple collections (like a wedding
or vacation).