Graphics Programs Reference
In-Depth Information
Step Seven:
Click on the Forward Warp tool (the first
tool in the Toolbox in the top-left side
of the dialog), and make your brush a bit
larger (use the
Left and Right Bracket
keys
on your keyboard to change your
brush size) than the area you want to move
around (yup, you're going to move her
hair into place). Then, take the brush, click
at the bottom of the “dip” in her indent,
and literally just push it out (as shown here)
until it's even with the rest of her hair.
It may take you a few different pushes to
get it nice and even like this, but once you
work with it for a minute or two, you'll to-
tally get the feel for how it works. Basically,
it lets you move things around like they're
liquid (not water—it's more like moving
maple syrup, but that's what you want).
When you're done with this side of her hair,
you'll see some other indents on the other
side of her head, so fix those as well (using
the same tool), then click OK to apply
these changes.
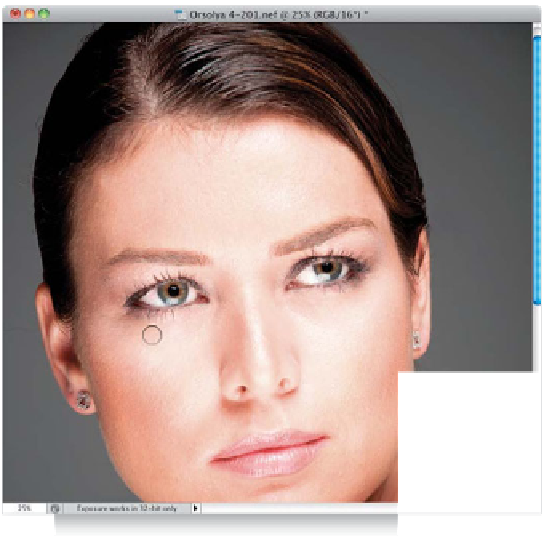
Step Eight:
You can see in the image shown here,
her hair looks much more even now. So,
switch to the Healing Brush again, and let's
remove those tiny wrinkle lines under her
eyes (they're pretty darn minor, but that's
what retouching usually is—fixing a lot of
little tiny things). Move the Healing Brush
to a smooth area right near the left side of
her wrinkle, Option-click (PC: Alt-click) to
choose that as your sampling point, then
paint over the wrinkle, and it's gone. There
are two under each eye, so just carefully
heal them away (ahhh, if it was only this
easy in real life, eh?).
Continued