Graphics Programs Reference
In-Depth Information
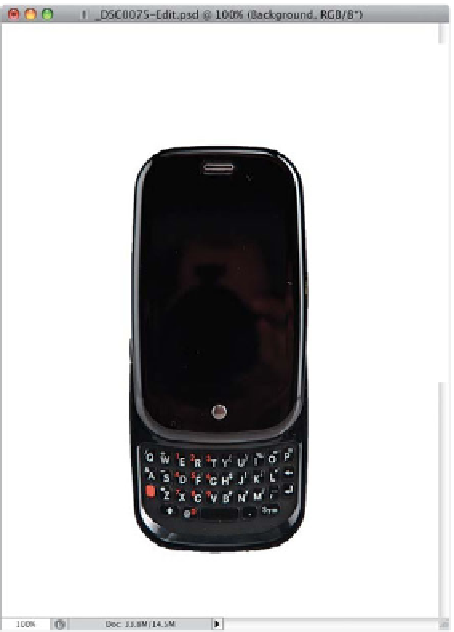
Step Five:
Now press
Command-Shift-J (PC:
Ctrl-Shift-J)
to cut the phone off the
Background layer, and put it on its own
separate layer above the background.
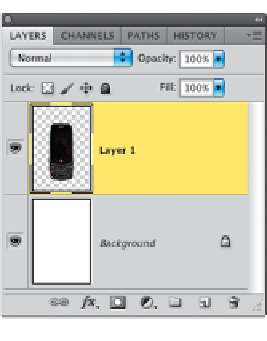
Go to the Layers panel, click on the Back-
ground layer, press
Command-A (PC:
Ctrl-A)
to select the entire background,
then press the Delete (PC: Backspace) key,
which brings up the Fill dialog. Change
the Use pop-up menu to
White
and click
OK to delete the original background,
and leave your phone sitting on a pure
white background, like you see here. Press
Command-D (PC: Ctrl-D)
to deselect
the background. Now, click on the Fore-
ground color swatch to bring up the
Color Picker, choose a light gray color,
and fill the Background layer with this
light gray by pressing
Option-Delete
(PC: Alt-Backspace)
.
Step Six:
Go under the Filter menu, and right
near the top of the menu, choose
Lens
Correction
. When the Lens Correction
dialog appears, click on the Custom tab
(over on the top-right side of the dialog),
and then in the Vignette section, drag
the Amount slider to -100 (to darken
the corners), then set the Midpoint at
+22 to extend that darkening further in
toward the center of your image. What
you get by doing this is the spotlight
effect you see here. Now click OK to
apply this edge darkening effect to
your background.
Continued