Graphics Programs Reference
In-Depth Information
So far, everything we've done in this chapter is based on us tweaking our photo
in Lightroom and then exporting it as a JPEG, TIFF, etc. But what if you want to
export the original RAW photo? Here's how it's done, and you'll have the option
to include the keywords and metadata you added in Lightroom—or not.
Exporting Your
Step One:
First, click on the RAW photo you want
to export from Lightroom. When you ex-
port an original RAW photo, the changes
you applied to it in Lightroom (including
keywords, metadata, and even changes you
made in the Develop module, like white
balance, exposure, etc.) are saved to a
separate file called an XMP sidecar file,
since you can't embed metadata directly
into the RAW file itself (we talked about
this earlier in Chapter 2), so you need to
treat the RAW file and its XMP sidecar
file as a team.
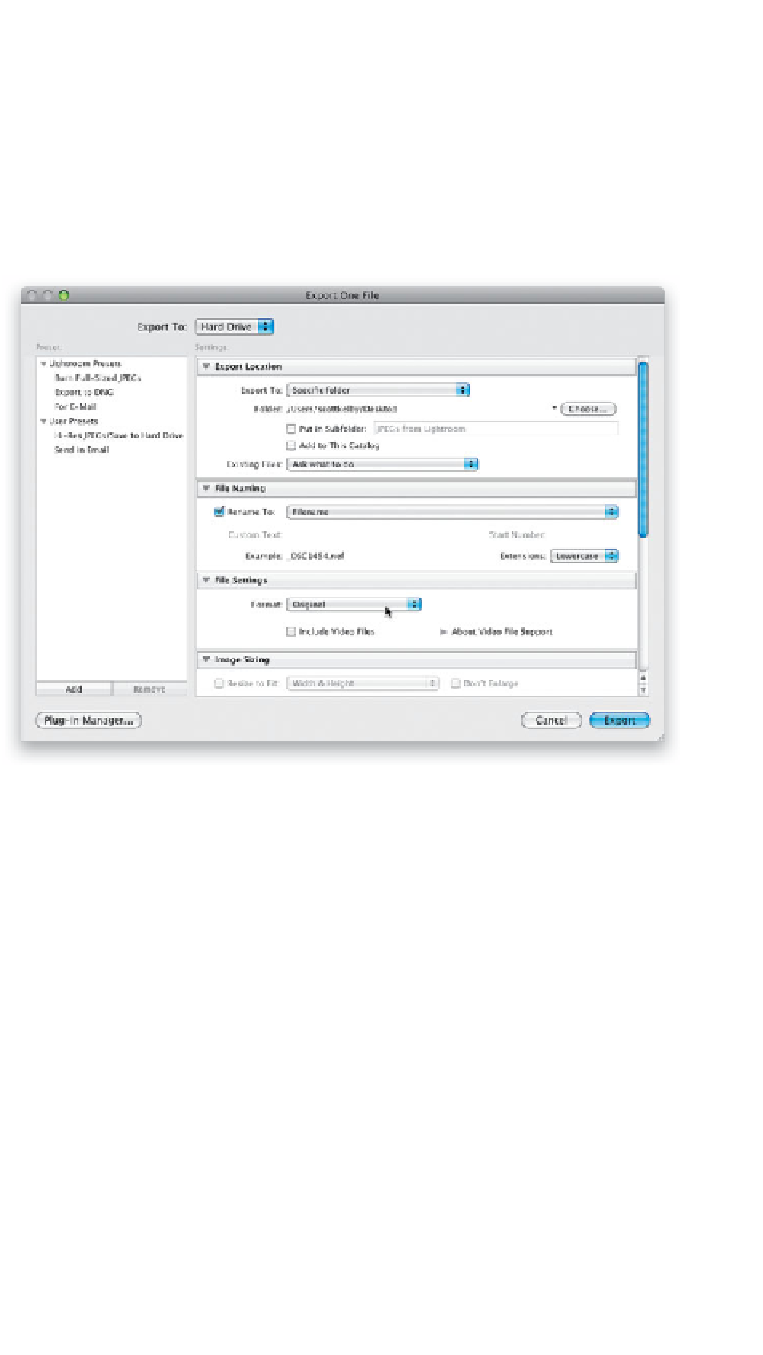
Now press
Command-
Shift-E (PC: Ctrl-Shift-E)
to bring up the
Export dialog (shown here). Click on Burn
Full-Sized JPEGs just to get some basic set-
tings in place. From the pop-up menu up
top, choose
Hard Drive
, like we did when
creating the Hi-Res JPEGs preset. Then, in
the Export Location section, choose where
you want this original RAW file saved to
(I chose my desktop), and then in the File
Settings section, in the Format pop-up
menu, choose
Original
(shown circled here
in red). When you choose to export the
original RAW file, most of the rest of your
choices are pretty much grayed out.