Graphics Programs Reference
In-Depth Information
Step Five:
Now, click-and-drag that alias (or short-
cut) into Lightroom's Export Actions
folder, then open that folder, and you
should see your alias (as shown here).
The name of this alias is what you're
going to see in the After Export pop-up
menu in the Export dialog, so I usually
rename my alias (in this case, I renamed
it “Email Photo”). Next, you're going to
create a custom Export preset that pro-
cesses your photos as small JPEGs, then
launches your email program, and attaches
these smaller JPEG photos automatically
(it's easier than it sounds, especially since
you've done all the hard parts of this
process already).
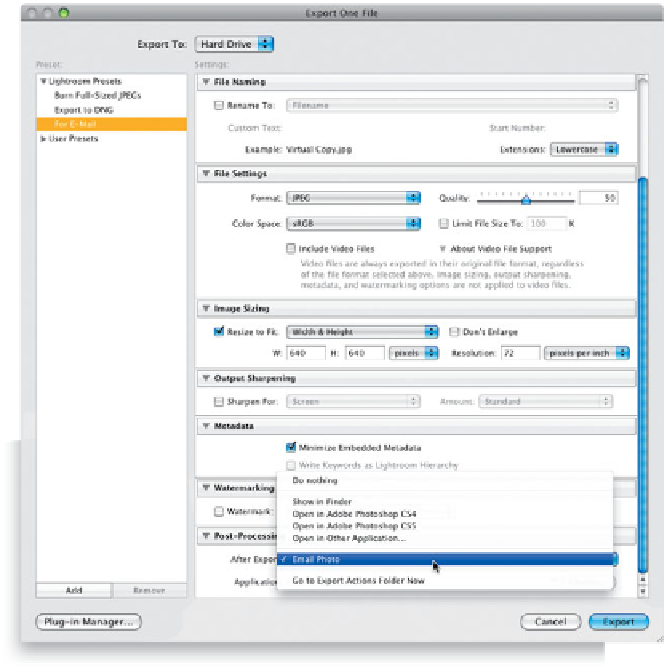
Step Six:
Now, go back to the Export dialog. When
you clicked on For E-mail, in the Preset
section on the left, under Lightroom Pre-
sets, it loaded some settings that work
well for emailing photos (it chose a lower
Quality setting, the right color space [sRGB],
the proper resolution, size, etc., for emailing
photos), however you can override any of
these if you like (if you want a higher qual-
ity, just click-and-drag the Quality slider to
the right in the File Settings section). Next,
go to the Post-Processing section at the
bottom, and from the After Export pop-up
menu, choose the Export action we just
created (mine was called Email Photo, as
shown here). Lastly, you want to save all
this as a preset, so click the Add button at
the bottom left of the Preset section. When
the New Preset dialog appears, give your
preset a name (I chose “Send in Email”)
and click the Create button. Now, click
Cancel in the Export dialog, because we
only came here to create a preset, and we
did, and it's saved.