Graphics Reference
In-Depth Information
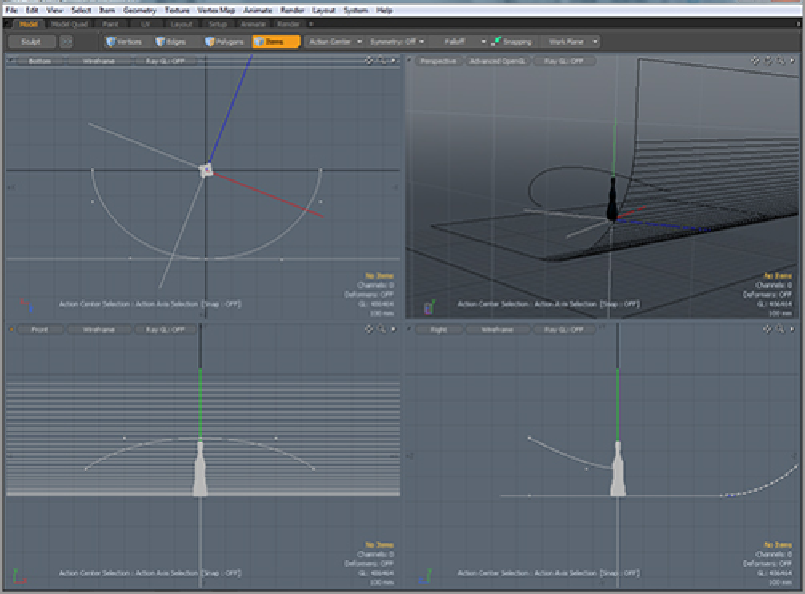
Once again, the best way to proceed with the animation here is to animate a locator and then attach the
camera to that locator. To set up the curve path for the locator, do the following:
1.
Create a new locator (rename it if you want to keep organized).
2.
Select the locator and then Shift+click on the curve layer in the Items list (this can also be done in
the viewport but is usually easier to do in the Items list).
3.
Go to the Animate tab.
4.
Select the Modifiers section from the Commands tab.
5.
Under Constraints, click Path to attach the locator to the curve in the layer (remember that you can
have only one curve in a layer for this to work).
With the locator attached to the curve, you will see a + sign to the left of the locator. Click this to reveal
the Path Constraint. When selected, this will reveal properties to control the location (and animation) of the
locator along the path. Set the Path Percentage to 0% at frame 0. Enable animation for Path Percentage,
move to frame 150, and set the percentage to 100. Scrubbing the timeline will show the locator moving
smoothly along the path. There are a few options offered in the Path Constraint properties that may be use-
ful, so we will cover them here:
•
Path Offset
works similarly to the Percentage option and can allow some variation to the overall
position along the path.
•
Wrap
allows you to loop continuously around the path, if you have a closed path.
•
Roll
controls the bank of the locator (or any attached item). Positive numbers cause the item to
bank with the curve, and negative values bank against the curve.
•
Axis
determines which axis is aligned along the path.

