Graphics Reference
In-Depth Information
2.
Select a loop of polygons around the base of the bottle to define the area that will be used as the new
center.
3.
Select Align Work Plane To Selection under the Edit
⇒
Work Plane menu. The Work Plane will be
centered on the current selection of vertices, edges, or polygons.
This can be useful for many advanced operations, but in this case you will use the recentered Work
Plane to snap the locator to the base of the bottle.
4.
Go to Items mode and select the locator.
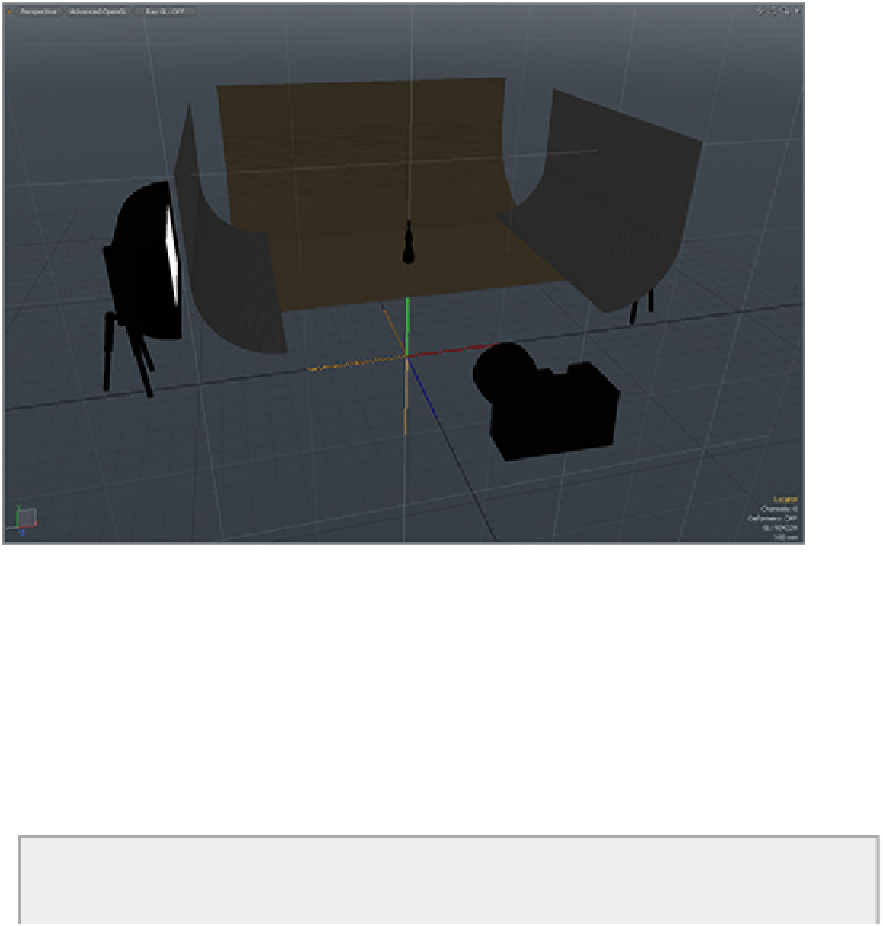
Figure 13-7:
The new locator is placed below the rest of the scene at the origin.
5.
Move to the Animate tab and choose To Work Plane Position under Set in the Setup section of the
Commands tab. If the To Work Plane Position button is not visible, make sure that the left-hand vertic-
al tab is in the Setup section and not the Modifiers section. Once clicked, the locator will appear at the
base of the bottle.
6.
At this point, your locator should be perfectly positioned for the animation (see
Figure 13-8
)
. The
Work Plane can be reset to the default position be choosing Reset from the Edit
⇒
Work Plane menu.
7.
For this animation, the locator needs to be animated only for the Rotation attribute in the y-axis.
Click the corresponding property to enable the animation. Set the value to 0º at the first frame of the
animation and 360º for the last frame.
Camera Views and Rendering