Graphics Reference
In-Depth Information
You need to consider one thing when placing this kind of texture on a roof. The direction of application
is important to keep the displacement going in the right direction. This can be done by creating a UV map
with the different pieces of the roof placed evenly, with individual pieces of roofing oriented straight up
and down. Alternately, the left/right-facing roof polygons can be placed in one selection set, and the front/
back-facing polygons can be placed in another group, and then the image can be applied to each selection
set individually, with one selection set using an x-axis planar projection and the other selection set using a
z-axis projection. When applied to the roof polygons that were extracted earlier, the result will be a com-
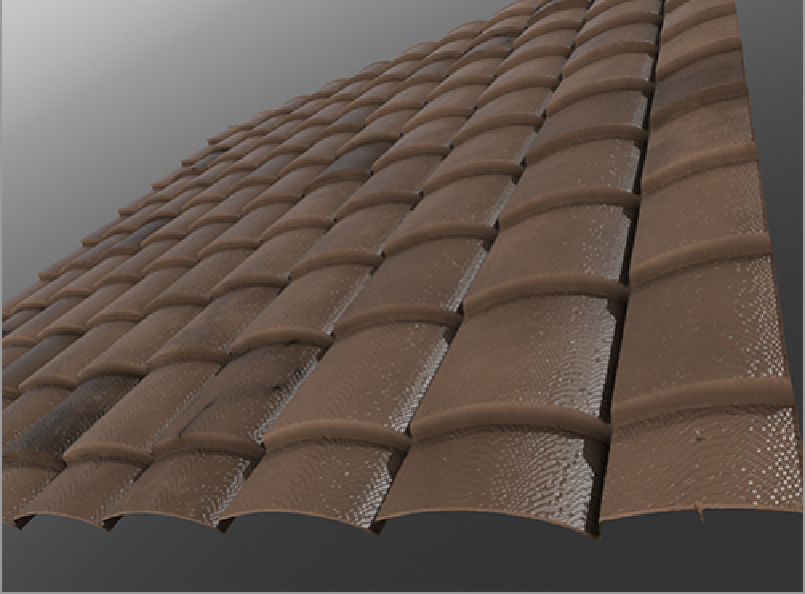
pleted roof. The roof tiles shown in
Figure 10-27
complete the finished model, are much easier to set up than
individual tiles, and render faster than a model with actual tiles.
Figure 10-27:
The completed scene with polygon models, subdivision surfaces, preset models, and dis-
placed geometry