Graphics Reference
In-Depth Information
lecting multiple texture locators, right-clicking them, and choosing Parent To Group Locator. This can also
be done to organize mesh layers, cameras, lights, and background images. After adding a preset mesh into
the scene, look at the Shader Tree. You will see a material group that corresponds to the piece of content that
was added to the scene. These material groups are set to apply only to the item preset. If the polygons within
the preset mesh layer are duplicated, they will retain the materials that are within the group. If the mesh item
is duplicated or instanced, the materials will not be attached to anything but the original unless the Item tag
(found in the Texture Layers tab in the Properties for the material group) is changed. To enable the materials
in this group for all duplicates and instances, change the Item from the preset mesh name (
ItemName.lxl
) to
All. With this done, materials will once again appear on the duplicated items. By using preset items, you can
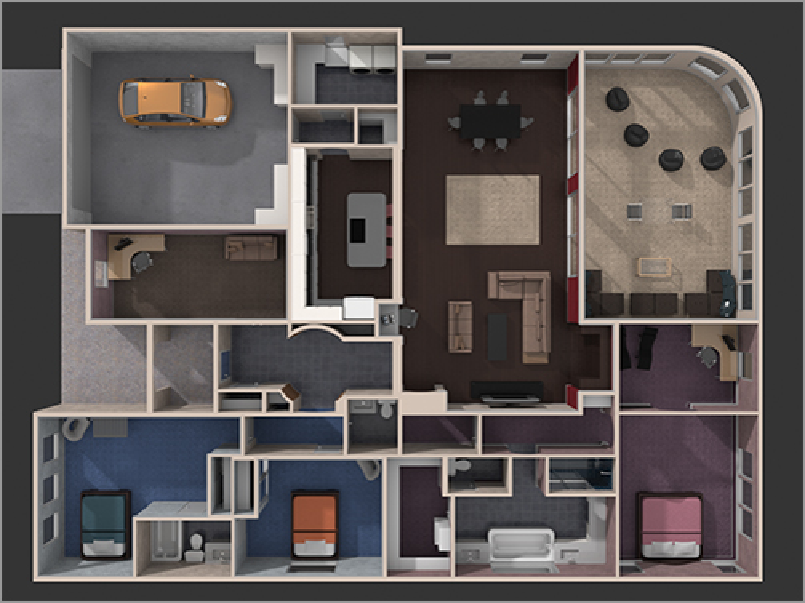
quickly complete your scene, as shown in
Figure 9-37
. With all items in place, lighting and render settings
will finish this project.
Figure 9-37:
Simple models and preset meshes can quickly fill a scene and help to give a better sense of
the space.
Adjusting Lighting and Render Settings
You can implement various possible lighting scenarios in an architectural scene like this. For illustration
purposes, just a few will be presented in the following pages. With a little ingenuity, however, many more
options will be open to you.