You can make a small tube by following the instructions on page 214. but a large tube requires a different setup. In the example below. I’ll make a 1-1/8″ i.d. tube for an NG6-129-G37 motor from 150 pound tagboard. Its .011″ thickness is ideal for a tube of this size, and the finished tube will be at least as strong as a standard fireworks tube. To make a 1-1 / 8″ i.d. tube from 150 pound tagboard. proceed as follows.
A 1-1/8″ TUBE MADE FROM 150 POUND TAGBOARD MATERIALS LIST
| 1. | A 24″ x 36″ sheet of 150 lb. tagboard | 8. A pair of scissors |
| 2. | A smooth, round metal bar, 1-1/8″ dia. x 16″ long | 9. A 9″, medium (3/8″) nap paint roller |
| CO | A heavy steel or aluminum block at least 12″ long | 10. A sponge |
| 4. | A dry wall square | 11. White glue |
| 5. | A smooth, flat, washable surface to work on | 12. A roll of plastic sheeting, 36″ wide. |
| 6. | A 30″ square piece of vinyl or rubber sheeting | 13. Waxed paper |
| 7. | An oven or refrigerator rack | 14. Water, and some denatured alcohol |
With these larger sheets of paper, you’ll need a larger surface to work on when applying the glue. A concrete slab covered with a sheet of plastic works fine, and most hardware and paint stores sell the plastic in 3 foot-wide rolls. The paint roller should be the standard 9″ type, and the nap should be medium (3/8″). The steel or aluminum block should be very large and ver\ heavy, and you’ll also need a “dry wall square”. A dry wall square is a large, aluminum T-square with a 4-foot blade. You can buy one at a hardware store.
Before you begin, make up the following two solutions:
GLUE SOLUTION: 1 pint (16 oz.) of water +1 pint (16 oz.) of white glue
and
ALCOHOL SOLUTION: 1 cup ( 8 oz.) of water +1 cup (8 oz.) of denatured alcohol
1. Cut a 3 foot-wide sheet of plastic sheeting 6 feet long, and lay it on a concrete slab (Figure 8-19). Lay the sheet of tagboard on the plastic, and using the paint roller, coat one side with the GLUE SOLUTION {Figure 8-20). The coating needn’t be thick, but it must completely cover the paper (i.e. no bare spots). Lift the glue-coated sheet off
} the plastic, and let it dry. When it is thoroughly dry. turn it over, and place it back on the plastic. Then coat the opposite
side, and let it dry again.
2. When both sides are dry. inspect each side carefully. As the glue dries, leaves, insects, and dirt can become trapped in the glue. Also, glue that overruns the edges of the paper adheres to the plastic: then dries, flakes off. and transfers to the next sheet of paper. Before you proceed, scrape away any debris with a putty knife (Figure 8-21). Then cut the sheet lengthwise into two 12″ x 36″ strips.
3. Lay the vinyl pad on a flat, washable surface. Lay the large metal block on the vinyl, and lay the dry wall square against the block (Figure 8-22).
![tmp911_thumb[1] tmp911_thumb[1]](http://lh4.ggpht.com/_X6JnoL0U4BY/S2rnp1iiLhI/AAAAAAAAMnc/rCrvE1cRN2c/tmp911_thumb1_thumb.png?imgmax=800)
![tmp912_thumb[1] tmp912_thumb[1]](http://lh5.ggpht.com/_X6JnoL0U4BY/S2rntSzp9RI/AAAAAAAAMnk/YcuemX1HEko/tmp912_thumb1_thumb.png?imgmax=800)
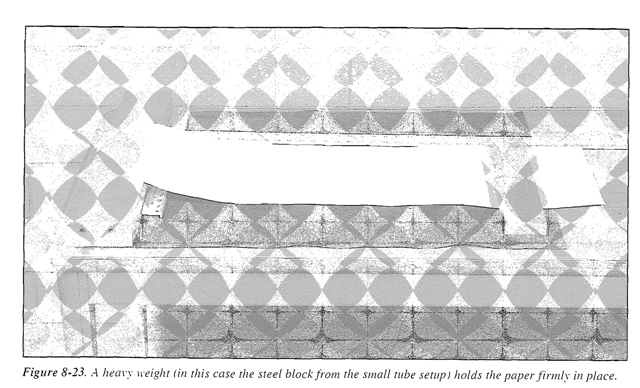
5. Pick up one of the strips. Bevel the corners of one end (snip them at a 451′ angle with a pair of scissors), and orient the paper so that the beveled end rests on the steel block. Align the paper’s edge with the inside edge of the dry wall square, and hold the paper firmly in place with a heavy weight (Figure 8-23 ). Without wiggling the paper or disturbing it’s position, remove the dry wall square.
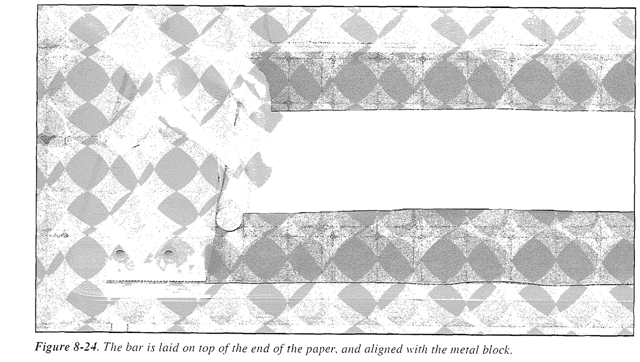
6. Cut a piece of waxed paper 14″ to 15″ long. Roll it as tightly around the metal bar as possible, and align the bar with the forward edge of the metal block (Figure 8-24 ). The waxed paper keeps the bar from sticking to the tube during the rolling process, and the metal block insures that the bar is square with the edge of the paper.
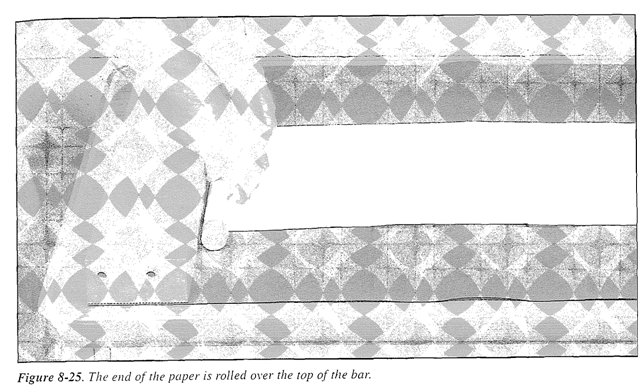
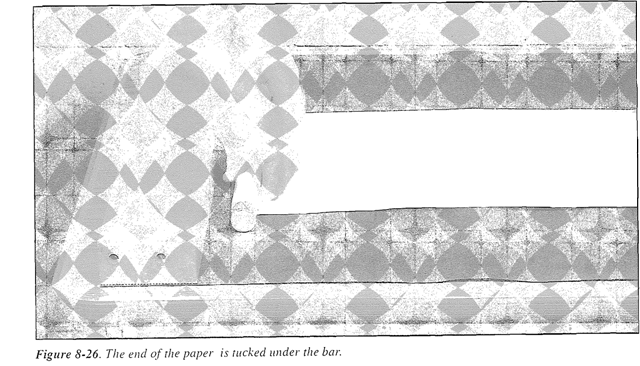
7. Pressing firmly down on the bar so that it doesn’t wiggle, roll the end of the paper over the top of the bar (Figure 8-25). and tuck it under the bar as tightly as you can (Figure 8-26 ). You’ll find that long fingernails and the beveled corners of the paper are helpful when doing this.
Important note. You’ll notice here that I use a different technique than I do when working with the smaller bar and the thinner paper. With this larger bar. I find it easier to start with the paper under the bar with its end sandwiched between the bar and the metal block. Since either method will work. I suggest that you try both, and adopt the one that works best for you.
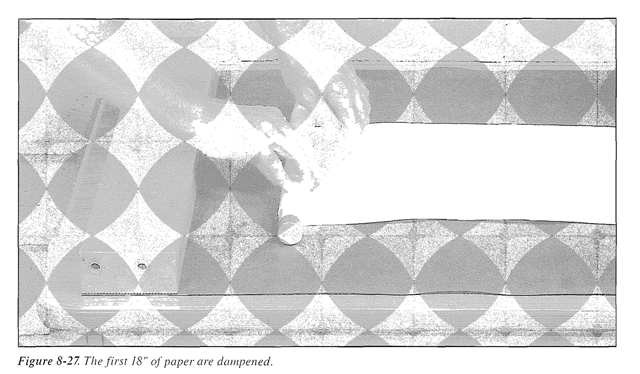
8. Holding the bar firmly in place with one hand, soak the sponge in the ALCOHOL SOLUTION, and with your free hand, squeeze it about 3/4 dry. Dampen about 12″ of the paper in front of the bar. and squeeze the sponge as far under the bar as possible (Figure 8-27). The amount of moisture needed isn’t much: just enough to make the glue glossy and sticky again. Without delay, roll the bar forward over the dampened paper, pressing down finnlx as you go.
9. When you reach the end of the dampened area, remove the weight, lift the bar-with-paper o//’the pad. and take it back to the starting point. Resoak the sponge. Wring it out again, dampen another 12″. and roll the bar forward again. Continue dampening and rolling to within 1/2″ of the paper’s end.
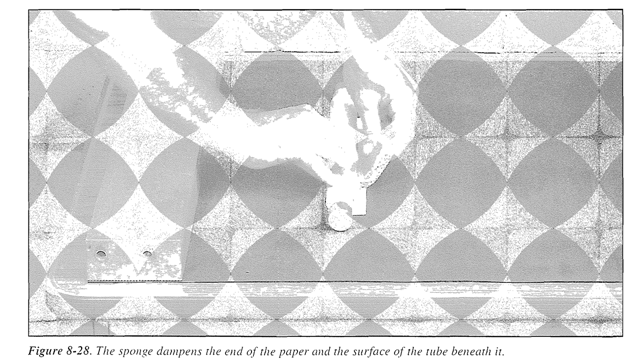
10. Squeeze the damp sponge between the end of the paper and the tube, dampening both surfaces in the process {Figure 8-28 >. Without delay, roll the bar forward, and rock it back and forth over the end of the paper until the end is firmly bonded. Then set the bar with the partially rolled casing aside, and proceed to step 11.
11. Replace the dry wall square. Pick up the second strip of tagboard. Bevel die corners of one end. Lay it on the pad with its end about 3″ from the metal block. Align its edge with the dry wall square, and just as you did with the first sheet, hold it firmly in place with a heavy weight. Without wiggling the paper or disturbing it’s position, remove the dry wall square, and place the bar with the partially rolled tube back against the starting block.
12. Dampen the sponge with the ALCOHOL SOLUTION. Wring it about 3/4 dry. and dampen the first 12″ of paper. Roll the bar forward onto the end of the paper, and rock it back and forth until the end is firmly bonded. Without delay. continue rolling and dampening until the outside diameter of the tube equals 1.50″. as measured by an accurate pair of calipers. Then cut off the excess paper, and repeat step 10.
13. Slide the finished tube off the bar. and inspect the inside of each end. The beveled end of the paper should be firmly-bonded to the inside of the tube. If it is loose, fill a small, disposable syringe (page 48) with the ALCOHOL SOLUTION, and squirt it under the end of the paper {Figure 8-15). Allow the excess to run out the opposite end of the tube, and
back into the solution container. Without delay, slide the round bar without the waxed paper back into the tube, and roll it back and forth in rolling pin fashion [Figure 8-16). until the end of the paper is firmly glued in place. When doing this, you will find that the inside of the tube is slippery, and you’ll have about 30 seconds to work before it gets sticky again. When you are finished, without delay, slide the tube off the bar. and let it dry for a week on a rack indoors.
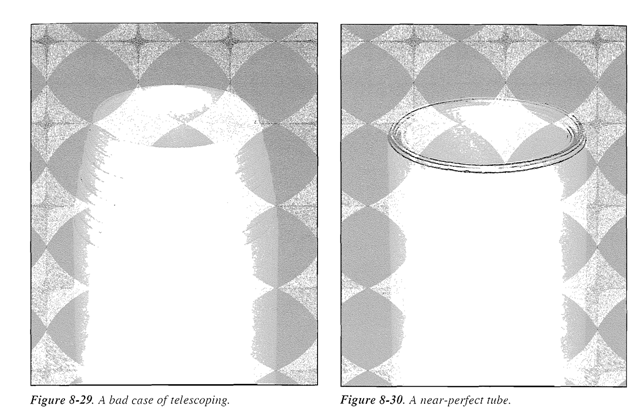
When rolling tubes larger than 3/4″ i.d.. your biggest problem will be telescoping. Telescoping is the tendency of the paper to spiral off to one side. The square and the metal block insure that the paper is straight when you start, but during the rolling process, irregularities accumulate, and the paper eventually spirals in one direction or the other. There is little you can do to prevent this, and the extent to which it happens is determined partly by skill and experience, and partly by chance. Figures 8-29 and 8-30 show two 1-1/8″ tubes made with 150 pound tagboard. Figure 8-29 shows a bad case of telescoping, and in Figure 8-30. you can see that I got lucky. In Figure 8-30 I lightly brushed the edges of the paper with a black marking pen to show how closely they are aligned. A typical tube lies somewhere in between.
The G-37 motor design specifies an 0.188″ casing wall thickness. But paper is a squishy. organic material, and a handmade tube will vary from this figure considerably. This is due to expansion of the paper from moisture, uneven pressure while rolling, and variations in the thickness of the glue. Basic arithmetic says that a tube made with .011″ paper should take 17 wraps, but the one in the photos took just 13. When you apply the glue, the paper absorbs some of the glue, and expands. And it never expands evenly. You started with paper that was .011″ thick, but measurements taken after the glue has dried will vary from .012″ to .013″. and this added thickness means that the finished tube will take fewer wraps of paper than expected.
Important note. When rolling very long tubes, cut the starting end of the paper at a slight angle (just a few degrees). This will make one edge slightly longer than the other, and when you start to roll, the longest edge will tuck under the bar first. Starting at that long edge, roll the bar forward a little at a time as you “tuck your way” to the opposite edge (the short edge).
Another important note. In the previous demonstrations. I told you to bond the starting and finishing ends of the paper by rocking the bar back and forth. When working with a stiff and springy paper like tagboard. it can take up to a minute of this rocking motion to achieve a strong and permanent bond.
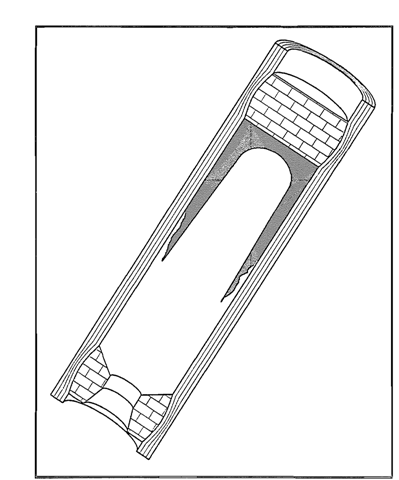
Figure 8-31. As the last of the propellant is consumed, the flame works its way under the edge of the remaining propellant.
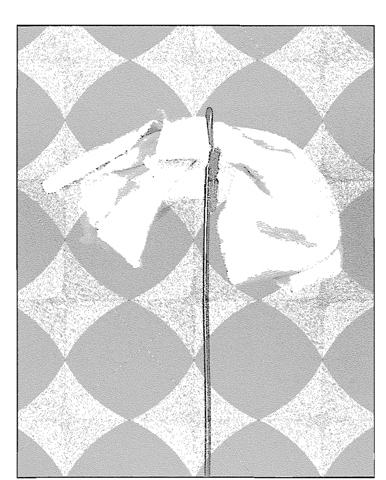
Figure 8-32. A piece of rag is crimped to the end of a straightened coat hanger.
And a final note. In the previous demonstrations. I’ve specified exact percentages for the glue and alcohol solutions, because these are the percentages that work for me. When making your own tubes, start with these percentages. Then feel free to experiment. You will probably find that, for a specific paper, adjusting the amount of water in each solution results in something that works even better.
Important glue note. Those of you familiar with woodworking might wonder if you can use aliphatic woodworking glue (like the “Tightbond” brand). In the course of my work. I experimented with aliphatic glue, and quickly found that, unlike white glue, which is flexible when dry. dried aliphatic glue is rigid and brittle. The tubes that I made with aliphatic glue wrere correspondingly too rigid and brittle to be of any use.
