At this point, the figure is almost complete, and the last few things to be done are adding final details such as surface veins and more skin details. An important decision has to be made as to whether some of these fine details should be sculpted or instead be simulated with bump maps. As you already know, the sculpting tools displace the surface of the mesh, whereas bump maps create the illusion of displacement or depth. Some of the factors in making this decision include the final output of the model. In other words, what is the model going to be used for? If the model is going to be exported for animation, then it is best to leave many of these finer details for bump maps. If the model is going to be printed, many of the very fine details may not print. In this case, smaller details like the nipples and umbilicus (navel) will be sculpted, as well as some veins and skin details, but very fine details like skin textures will be created with bump maps in the next topic.
Nipples and Umbilicus
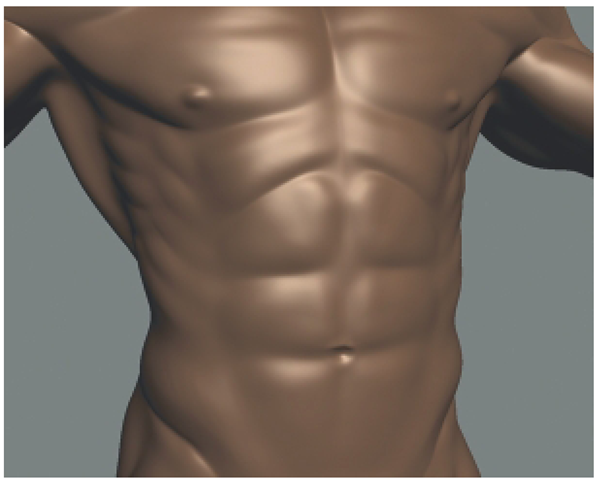
Create a new layer for the nipples and umbilicus. Using the Bulge tool create the nipples as shown in Figure 4.35. Now, using an inverted Bulge tool, push in the umbilicus along the linia alba at the intersection between the third and fourth rectus abdominis muscles. Umbilici come in different shapes and sizes, so you have some variability to experiment with. Once the initial cavity for the umbilicus is created, use the Grab tool to make it somewhat oval, horizontally. Then, use the Wax tool to create a fold of skin at the superior edge of the umbilicus (Figure 4.35).
Sculpting Veins
A feature commonly seen on the surface anatomy of muscular figures is blood vessels. The blood vessels visible on the surface are almost always veins. Arteries, which carry oxygenated blood and are under higher pressures, are usually found deeper inside the arms and legs and the body. The number and size of veins seen on professional bodybuilders is not normal because these individuals have extremely large muscles and very little body fat. However, the creature you sculpted is muscular but still has some fat, so its veins will be on its arms and legs only. Veins on the arms and legs follow a general pattern that can vary somewhat from person to person. However, like most other anatomical features, you have to be to sculpt veins in places only where they occur.
FIG 4.35 Suggest the Nipples with the Bulge Tool and Push In the Umbilicus with an Inverted Bulge Tool and Use the Wax Tool to Add Details.
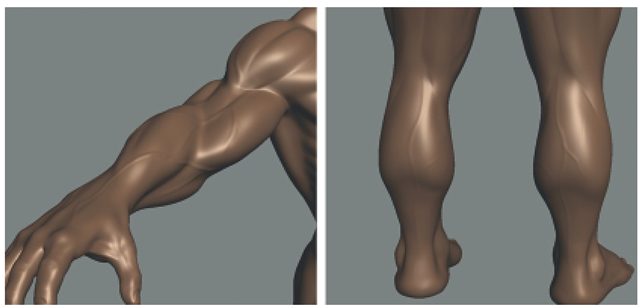
Create a new layer for the vein details. Select the Bulge tool and set its size and strength values less than 5. In the Falloff tray, select the Falloff preset number 6. Hold the mouse over the Falloff presets to see their number. Now, depending on how hard you press on the graphics tablet as you sculpt, you will get different results. The goal is to sculpt subtle veins along the paths seen in Figure 4.36. The veins should not end abruptly but instead emerge gradually and taper gradually.
Asymmetry
As you have discovered, one of the great time-saving features in Mudbox is sculpting with mirroring across the x axis to sculpt both sides of the body, simultaneously. Through out most of this tutorial, you have been sculpting with mirroring enabled resulting in a model that is almost perfectly symmetrical. However, because human figures are not symmetrical, leaving the model as it is may cause it to look stiff and unnatural.
FIG 4.36 Surface Veins Add a Touch of Realism to the Sculpture. Use the Bulge Tool to Sculpt the Veins on the Arms and Legs.
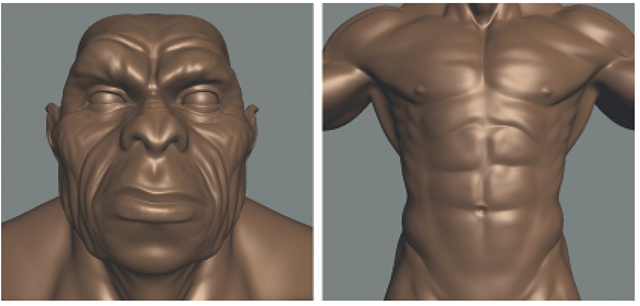
FIG 4.37 Living Things Including Humans Are Not Perfectly Symmetrical. Add Asymmetry to the Face and Body to Give the Sculpture a More Natural Appearance.
Take the time to study the subtle asymmetries that occur naturally in facial features and in the rest of the body. For instance, on the face, one brow may be higher, one eyelid may droop lower, or the nose may be a bit off center. Introducing some asymmetry will go a long way to enhancing the realism of your sculpture. In the body, asymmetry should be introduced in the torso.
For example, the Rectus abdominis muscles and the intersections between the muscles are almost never symmetrical. The same is true of the muscle groups on either side of the body. To add asymmetry, use the Grab tool with Mirroring disabled and lower its strength value so that any changes are subtle (Figure 4.37).
Summary
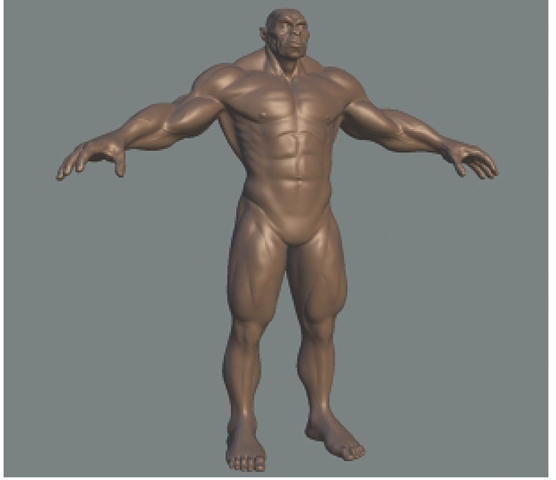
If you are reading this paragraph then you probably have made it all the way through sculpting an entire figure (Figure 4.38). Congratulations are in order because it’s no small task to sculpt a figure from head to toe. By now, you should have a confident understanding of sculpting in Mudbox, digital sculpting concepts in general, and basic knowledge of human anatomy as applied to art. In the next topic, you will work with Mudbox’s 3D painting tools.
FIG 4.38 The Completed Creature.


