Graphics Programs Reference
In-Depth Information
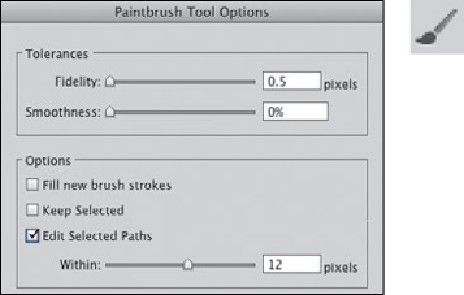
2
Customizing Paintbrush Tool Options (in
CC
set one Fidelity slider
to Accurate)
To create a custom calligraphic brush, click the New Brush icon and select
Calligraphic Brush. For this piece, Steuer chose the following settings: Angle=90°/
Fixed; Roundness=10%/Fixed; Diameter=4 pt/Pressure/Variation=4 pt. If you have
one of the newer Wacom Art Pens, try varying the Diameter with Rotation instead of
Pressure, then let the pen barrel rotate between your fingers naturally as you draw.
(If you don't have a pressure-sensitive tablet, only Random will have any effect on
varying your stroke.) To create a variation of a brush, duplicate it by dragging it to
the New Brush icon, then double-click the copy to edit it. If you create a variety of
brushes—adding minor variances in Angle, Roundness, and Diameter—you can
enhance the hand-drawn appearance of your ink drawing by selecting a brushed path
and choosing a new brush for it.
3 Adding a wash.
For this piece, Steuer added depth by introducing gray washes un-
derneath the dark brush-strokes. To easily edit the wash strokes without affecting the
dark ink strokes, create a new layer, and draw your wash strokes into this layer be-
tween the ink and template layers. To avoid altering other layers while you brush in
the washes, you may want to lock all the other layers. To toggle between locking all
layers except the wash layer, and unlocking all layers at once, including the wash lay-
er, Option-click/Alt-click the wash layer's Lock icon.
For the wash, select a light color. Steuer used the Dry Ink 2 brush from the
Artistic_Ink brush library (Swatch Libraries menu). In the Layers panel, click the
wash layer to make it the current drawing layer, and paint away.