Game Development Reference
In-Depth Information
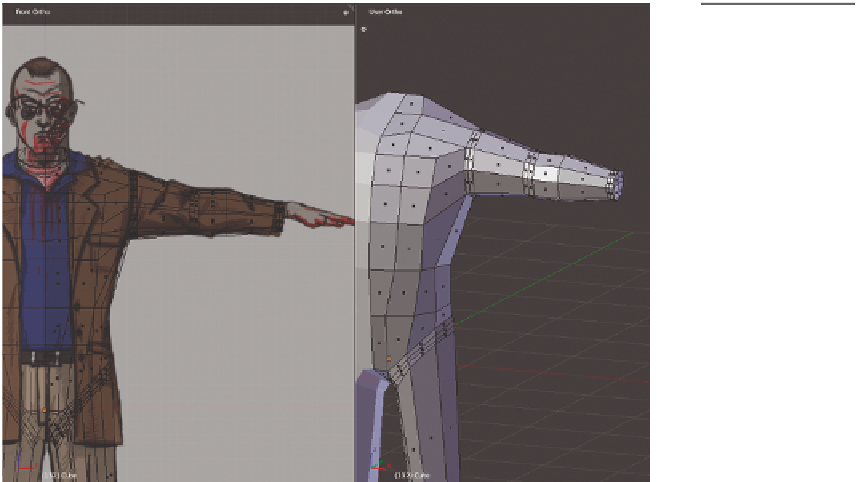
Figure 3.20
The finished arm
4. Do another two small extrusions at the elbow to help in deformation later during
animation.
5. The forearm stays wide and then becomes narrower as it turns into the wrist.
Extrude to where this narrowing begins and create another extrusion that ends at the
wrist. Scale the polygons down at the wrist so they match the model sheet.
6. Extrude twice more so the zombie's wrist geometry bends
nicely during animation. Orbit around your model to make
sure the arm looks nice from different angles and make adjust-
ments accordingly in either the 3D or top view. Look again at
Figure 3.20 to see the finished arm.
Figure 3.21
Forming the base of
the hand geometry
Modeling the Hands
Now it's time to create the hands. As with the foot, you will create
this to be a separate piece of geometry.
1. Select the four faces at the end of the wrist and press the X key.
Choose the Faces option to delete the appropriate geometry.
2. Alt+RMB to select the edge loop around the end of the wrist
and duplicate it with Shift+D. Place this new edge loop near
the end of the arm geometry and scale it down slightly
(Figure 3.21).

Search WWH ::

Custom Search