Game Development Reference
In-Depth Information
In Figure 2.4, the screenshots are all taken from Blender in different screen layouts.
The first is built for animation, the second for Python scripting, and the third for video
editing. Try to find some of the similarities.
Although this concept may seem daunting at first, you will soon understand how this
flexibility allows you to maximize your productivity in Blender.
Editing the Blender Interface
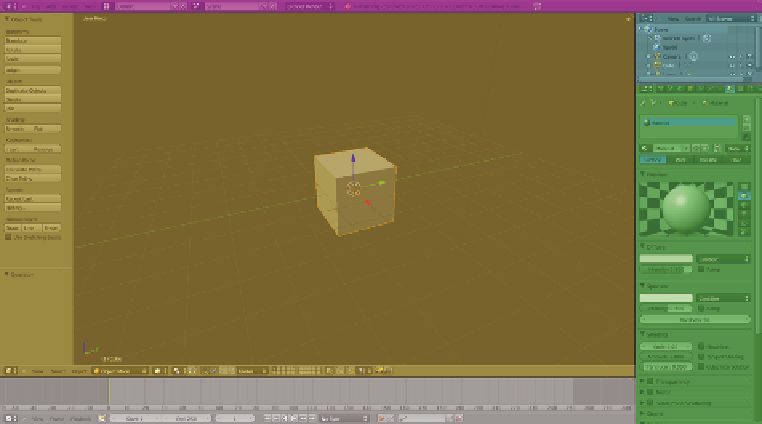
When opening Blender for the first time, you get a sampling of the common editor types
in the program: the 3D View, Info Header, Outliner, Properties, and Timeline windows
(Figure 2.5).
Figure 2.5
Blender interface
with editor ID
overlay
Info Header
Outliner
Properties
3D View
Timeline
For now we will work with the windows in the default view. For 3D modeling charac-
ters, it can be useful to have two 3D windows open rather than Blender's default of one.
1. Go to the top-right corner of the 3D editor window and look for some diagonal lines
that look as though the window has been scored with a knife (Figure 2.6).
2. LMB-click the scored corner and drag it down and left. This will create a new 3D edi-
tor window that is a duplicate of the first. Alternately, you can RMB-click the edge
between editors and select Split Area from the pop-up menu.
3. It is useful to have the Toolshelf and Properties shelf displayed when you are work-
ing in the 3D views. Place your mouse cursor over the left 3D editor window and
press the T key to bring up the Toolshelf there. Then, move your mouse cursor over
the right 3D editor window and press the N key to bring up its Properties shelf
(Figure 2.7). Keep in mind that some of the functions in this shelf affect the editor
window it is in.
Search WWH ::

Custom Search