Graphics Reference
In-Depth Information
2.
Click the
Flash (SWF)
icon to create a Flash movie.
3.
Captivate enters a default name for the output movie that is the
same as the name of the saved project. You can change this by typ-
ing a new name in the Project Title text box.
4.
Captivate will store the output you publish in a new folder in the
folder with your current Captivate project files. You can change
this by typing a new location in the Folder text box.
5.
Under Output Options, ensure that the
Export HTML
box is
checked. Captivate will create an HTML file that automatically
plays the published movie.
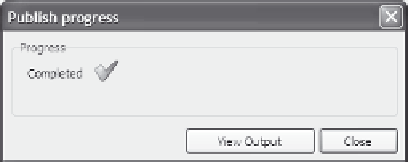
6.
Click
Publish
. Captivate generates the movie, much as it did in
the preview window. It also creates the HTML file necessary to
publish your file on a web page and displays a message when com-
plete. Captivate will prompt you if a new folder needs to be
created.
Figure 3-12. Publish
the movie, then view
the output.
7.
Click
View Output
to see exactly what the movie will look like.
For our HTML example, the movie will play in your default
browser. Note that the movie playback controls appear at the
bottom of your movie.
Figure 3-13. The playback controls display at the bottom of the movie.