Graphics Reference
In-Depth Information
3.
Display any of the listed toolbars by clicking on the toolbar name
to check it, or hide a toolbar by clicking on the name to remove the
check mark. In the example in Figure 6-2, the Alignment, Object,
and Advanced toolbars have been turned off; only the Main toolbar
is displayed.
Note: When you click a toolbar name, the View menu changes to
reflect the choice you made, then closes immediately. You'll know if
the display changed by looking for the toolbar. Simply open the View
menu again to continue modifying your display.
4.
To change the location for each toolbar, first display the toolbar as
described in step 3. Move your cursor to the vertical dotted line on
the toolbar until the cursor changes to an icon with four arrows.
Hold down the mouse button and drag the toolbar to a new loca-
tion. You can place the toolbars on any side of the Captivate win-
dow, or move them to the center of the Captivate window where
they'll be opened in their own separate “floating” windows. You
can move these windows around as needed, and even move them
off the Captivate window altogether (such as to a second monitor).
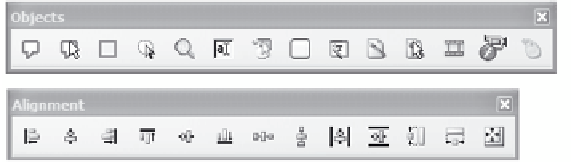
Figure 6-3. The Object and Alignment toolbars can display in separate windows.
Modifying the Filmstrip Display
Like the toolbars, the filmstrip can be on or off, and you can change the
position of the filmstrip on the screen. You can also change the size of
the slide icons (called thumbnails). For example, you may want to
make the icons smaller (so you can see more slides at once) and dis-
play the filmstrip across the bottom of the screen.
There are two ways to turn the filmstrip display on:
From the Edit view, click
View
to display the viewing options,
then click
Show Thumbnails
.
Hold down the
Control
and
Alt
keys on your keyboard, and then
press the letter
B
.