Graphics Reference
In-Depth Information
10.21
10.22
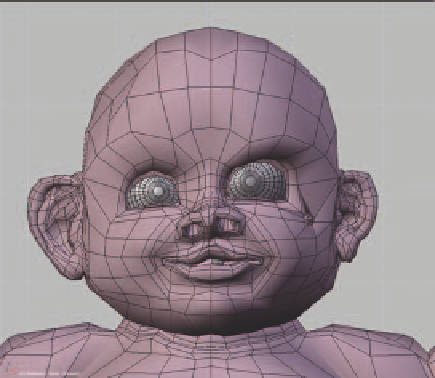
Figures 10.21-10.22
Sculpting the Beast's left eye open
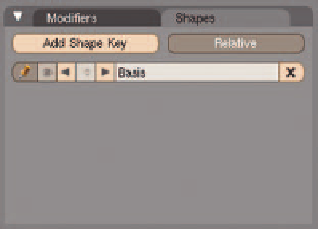
NOTE
When using the sculpt tools on a mesh that has differ-
ent shape keys, you will need to “lock” the shape before
beginning. In fact, Blender will warn you and not allow
you to sculpt if you do not. In the
Shapes
panel, select
the shape on which you would like to sculpt, and enable
the “Pin” icon on the left of the shape controls. This is
shown in Figure 10.23.
Figure 10.23
Locking a shape to enable it
for sculpting
Use caution when working around the eyes so the eyelids of your model don't pull away from the eyeballs, leav-
ing an unsightly gap. If your mesh has overlapping or nested structures such as teeth or a tongue, you will not
necessarily want to have those affected by the sculpt tools (teeth don't fl ex and bend as you move your lips).
There is a way to prevent them from being affected by the sculpting tools, but it is a bit of a work-around.
●
With the “Basis” key selected in the
Shapes
panel, enter Edit mode on the mesh.
●
Make a selection of everything that will
not
be rigid (everything that you want to remain “sculptable”).
You do this either by directly selecting all of the nonrigid vertices or by selecting just the teeth, horns,
etc., then using the
Select Swap
command from the 3D view
W-key Specials
menu.
●
Using the Vertex Group tools, create and name a new vertex group called “sculptable” and assign the
selected vertices to it.


Search WWH ::

Custom Search