Graphics Reference
In-Depth Information
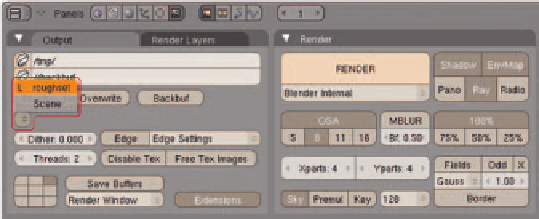
In the
Scene buttons
(F10), choose the
“roughset” scene as a set, using the con-
trol in Figure 7.10.
If you have any props you want to bring
in at this point, link them in either as
groups for use with dupligroups and
Empties as explained in the previous chap-
ter, or directly, in which case you must use
Ctrl-Alt-P
to create proxies that are
capable of moving. Position the props at
their starting points (Figure 7.11).
Figure 7.10
Using the super-secret set menu
At this point, you are ready to add your char-
acters to the template. Unless you have worked
ahead, your characters are not yet ready for
animation. They are basic meshes, possibly
untextured. You will not be animating the
characters now—just moving them around
like chess pieces, so this is okay. The fully ani-
matable versions of the characters will replace
them later.
Because you will be moving them around at
the object level only, it makes sense to bring
the characters in as dupligroups. In you char-
acter fi les, select all the parts of the character
that you have so far and create an appropri-
ately named group for them. Link that group
into your template scene fi le just like a prop,
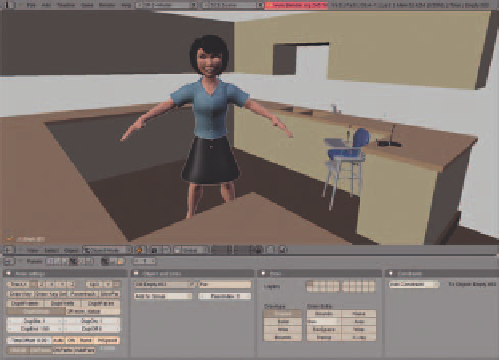
create an Empty, and set it to use that charac-
ter's group in the
Anim Settings
panel of the
Object buttons
, as in Figure 7.12.
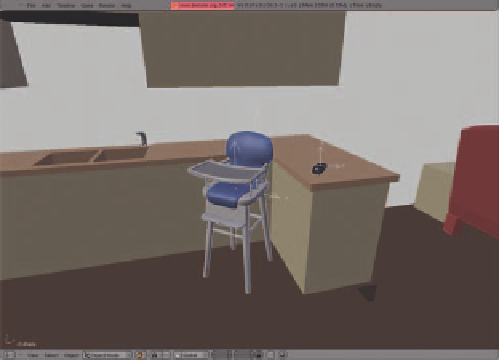
Figure 7.11
The Beast's
rough set with some crucial props in place
When all of your characters are linked into
the template fi le, it's time to fi nd out how
good your visualization skills have been.
Matching Camera Angles to
Storyboards
You're about to start adding cameras to this
template fi le and matching real 3D camera
Figure 7.12
A character brought in as a dupligroup

Search WWH ::

Custom Search