Graphics Reference
In-Depth Information
•
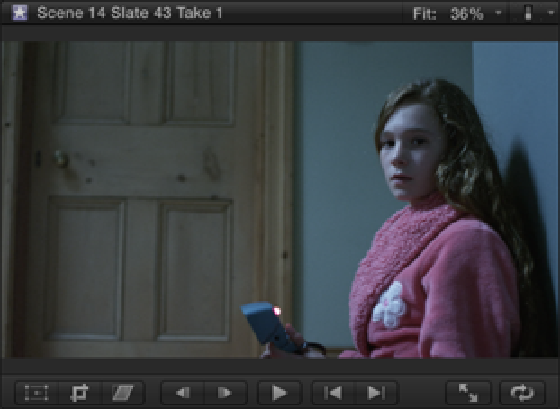
Scene 14 Slate 43 Takes 1 and 4:
Two takes of a medium shot of Katie on the stairs. Covers the same ac-
tion as the previous shot, but the clip ends on Katie taking the photo and doesn't include her run down the
stairs (see Figure 11.13).
Figure 11.13
A medium shot of Katie on the stairs.
So, with just four angles to play with, let's see how we can turn this into a suspenseful scene.
1.
For the next part of the sequence, we want to suggest that some time has passed between the previous
section and the one that we're about to edit. Of course, we could bridge the two sections with a dissolve, but
let's see if we can create the impression of time passing with the footage that we have at our disposal. Scene
14 Slate 40 Takes 2 and 3 shows a wide angle of Katie sitting at the top of the stairs. Play the clips to see if
there are any sections that we can use to imply that some time has passed.
Set the Event Browser's Filter pop-up menu to Favorites and play the rated section of Scene 14 Slate 40
Take 3. Katie's posture in the shot and the way she shifts her legs to get comfortable suggest that she's been
waiting for a while and is starting to get bored. The winding sound from the camera detracts from the effect,
so let's not use the audio from the clip. Press Shift+2 to select Video Only as the source media, and press E
to append Scene 14 Slate 40 Take 3 to the end of the Primary Storyline. Press Shift+1 to switch the source
media back to All.
2.
The following clips involve Jason bouncing the ball at the bottom of the stairs. We want the ball bounces
to have an eerie and almost unnatural feel to them, so we've created an audio clip that has the ball hits oc-
curring every two seconds to give them a more repetitive quality. Let's first add the audio clip to the
Timeline and then cut the following clips to the rhythm of the ball hits. Switch the Event Browser's Filter
pop-up menu to All Clips, click the Sound FX Collection inside the Audio folder in the Event Library, and
select the Bouncing Ball audio clip. Press +2 to select the Timeline window, and press the End key to take
the playhead to the end of the edited sequence. Press Q to connect the Bouncing Ball audio to the Primary
Storyline. This creates a gap clip with the audio connected below it (see Figure 11.14). Click the Editing
Action Collection in the Event Library to display its contents in the Event Browser.