Graphics Reference
In-Depth Information
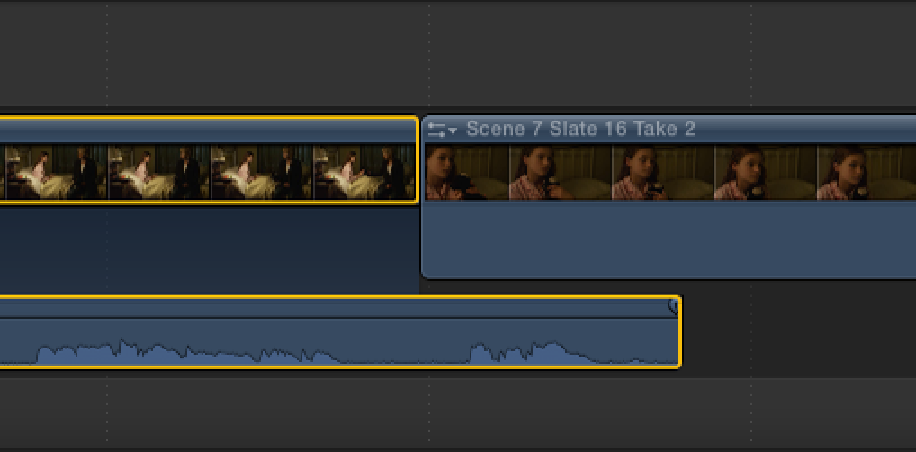
Figure 8.11
An expanded clip used to create an L-cut.
To expand a clip in the Timeline, double-click the clip's blue audio waveform. If you prefer, you can select the
clip and choose Clip
⇒
Expand Audio/Video or press Control+S. To expand all clips in the Timeline, make sure
no clips are selected and choose View
⇒
Expand Audio/Video Clips
⇒
For All. To expand just the split clips in the
Timeline, make sure no clips are selected and choose View
⇒
Expand Audio/Video Clips
⇒
For Splits.
To return an expanded clip to its original state, double-click the clip's expanded audio waveform. If you prefer,
you can select the expanded clip and choose Clip
⇒
Collapse Audio/Video or press Control+S. To return all ex-
panded clips to their original state, choose View
⇒
Collapse All Clips.
L- and J-cuts are an effective way to mask the cuts in a dialogue scene so that the shots flow smoothly when
cutting back and forth between characters. You'll be putting split edits to good use in Chapter 10, but first let's
look at a typical example of how you would use them in the context of a scene. Let's say you had a shot of a
character speaking followed by a shot of another character listening and you wanted to continue the first charac-
ter's dialogue over the second character's shot. This would be an ideal situation to use a L-cut. To achieve this
you would expand the first clip to separate the video from audio, and then extend the audio portion by dragging
its Out point past the second clip. As you can see from Figure 8.12, this looks like the letter L, which is why it's
known as a L-cut.