Graphics Reference
In-Depth Information
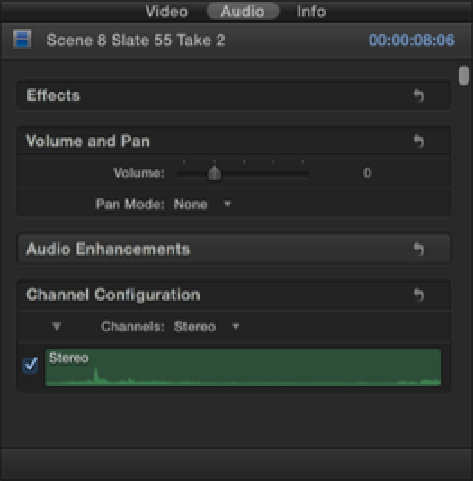
Figure 6.19
A selected clip's audio in the Inspector.
Clips can be connected to an empty Primary Storyline that contains no clips. In this case, a gap clip is created in
the Primary Storyline beneath the Connected clip so that it has something to connect to. Moving the gap also
will move the Connected clip. Deleting the gap also will remove the Connected clip.
Let's continue working on the Bump in the Night sequence by adding some Connected clips to the work that
you've done so far:
1.
Select the Bump in the Night Collection in the Event Library, making sure that the Event Browser's filter
is set to Favorites.
2.
Open the Bump in the Night Project in the Timeline.
3.
Select the second favorite section from Scene 8 Slate 56 Take 2 in the Event Browser and position the
playhead at 38 seconds and 6 frames on the Primary Storyline.
4.
Edit Scene 8 Slate 56 Take 2 to the Timeline by clicking the connect button on the Toolbar or using the
keyboard shortcut Q. The clip connects to Scene 8 Slate 54 Take 3 in the Primary Storyline and covers a
small section of the clip. If you play this back now, Scene 8 Slate 56 Take 2 appears in the Viewer when the
playhead reaches the Connected clip's position in the Primary Storyline and then cuts back to Scene 8 Slate
54 Take 3 after it passes it.
5.
Select the second favorite section from Scene 8 Slate 55 Take 2 in the Event Browser and position the
playhead at 43 seconds and 3 frames on the Primary Storyline right after the Connected clip.
6.
Edit Scene 8 Slate 55 Take 2 to the Timeline by pressing Q.
7.
Play back the section to see the result. The transition between the two Connected clips could do with
some trimming, and the Out point of the second Connected clip doesn't work when it cuts back to Scene 8
Slate 54 Take 3 on the Primary Storyline. This section needs some trimming so that it cuts together more
smoothly, and you'll be doing this in Chapter 7.
Working with Connected Clips