Graphics Programs Reference
In-Depth Information
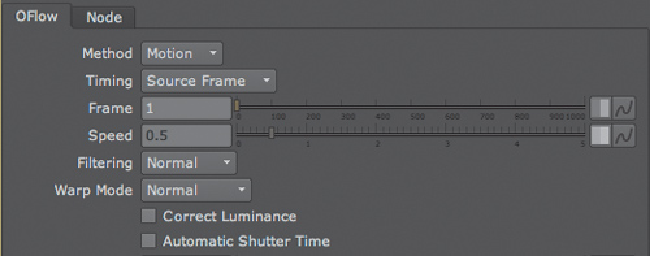
3. Go to frame 1 in the Timebar, right-click (Ctrl-click) the Frame field, and choose
Set Key from the contextual menu.
4. Go to frame 60 in the Timebar and set the Frame field to 50 (the last frame of the
original element you brought in).
5. While viewing OFlow1 in the Viewer, click Play.
If you look at the sequence frame by frame, you can clearly see that there are
some original frames and some newly created frames. Change that by increas-
ing the ShutterTime property in the OFlow node; doing so increases the blending
that's happening in-between frames.
OFlow is a very good tool. However, its down side is that it is also very slow.
You are working in Proxy Mode at the moment, so things are quick and easy. But
when you go back to the full-res image, you will feel how slow it is. Let's try an-
other retiming node.
6. Click Stop when you're done watching.
7. Delete OFlow1.
The next retiming node is simply called Retime.
8. Click Read3 and from the Time toolbox insert a Retime node.
Retimeisahandytooltostretch,compress,orchangethetiminglocationofclips.
Retime is fast as it doesn't use optical flow technology and either blends between
frames or freezes frames to accommodate speed changes. There are many ways
to play around with this tool. It can really work in whatever way fits your needs
Figure 8.36. The Retime node's interface.

Search WWH ::

Custom Search