Graphics Programs Reference
In-Depth Information
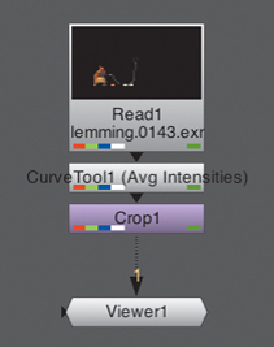
Figure 3.8. Inserting a CurveTool node after Read1.
7. View the output of CurveTool1 by selecting it and pressing 1 on the keyboard.
8. In CurveTool1's Properties panel, choose Avs Intensities from the Curve Type
drop-down menu.
9. Click Go! In the panel that opens, click OK.
TheAutoCropfunctionisnowlookingforpixelsthatareblack.Blackpixelssur-
rounded by non-black pixels will remain inside the new bounding box. However,
black pixels that don't have any non-black pixels between them and the edge of
the frame will be considered unimportant, because they are adding nothing to the
image, so the new bounding box will not include them.
10. When the process finishes (it may take some time), click the AutoCropData tab.
Here you can see the four values (X, Y, Right, and Top) that are now changing
from frame to frame according to the location of non-black pixels. Keyframes
were created on every frame, as you can tell by the bright blue color of the fields
Figure 3.9. The AutoCropData tab once the processing is complete.

Search WWH ::

Custom Search