Graphics Programs Reference
In-Depth Information
2.
In the Texture panel, add a new texture to use
as an alpha for the brush by clicking the
+
icon
in the Texture selector. This creates a new tex-
ture and assigns it to the brush. Name it some-
thing useful, like
Clay Tubes
.
Creating Custom Brushes
Now that we've taken a look at some of Blender's
built-in brushes, let's look at how to create custom
ones to better suit our needs. As explained earlier,
Blender's sculpting brushes are all variations on the
same initial set of brush types; the differences come
from changing the settings that affect how these
brushes function. You'll want to change some set-
tings frequently, like the radius of the brush and its
strength. If you end up using a certain set of brush
settings often, it's a good idea just to give them their
own brush.
To create a new sculpting brush, select an exist-
ing one similar to the one you want to create, and
then press the
+
icon in the Brush selector next to
its name to create a new, unique brush. Now, modify
the new brush by changing its strength, assigning
textures and stroke options, and so on.
To demonstrate, let's create a few custom
brushes that will come in handy when sculpting.
3.
To edit this texture, open the
Texture tab
of the
Properties editor (see Figure 6-6), and make
sure you have the brush icon selected to edit
brush textures.
4.
In the Type drop-down menu, choose
Image
or Movie
and then select an image to use as a
brush texture by opening or adding an image
from the Image panel. For this brush, I created
a very simple, slightly blurred white square on a
black background in GIMP, which I then loaded
as the brush texture.
5.
With the texture loaded, return to the 3D
Viewport Tool Shelf, and set the brush angle
setting (in the Texture panel of the Tool Shelf,
as shown in Figure 6-5) to
Rake
to make the
alpha rotate to match the direction of the stroke.
Now we'll have nice square strokes with a slight
texture that will be great for building up forms
like muscles and wrinkles and for quickly block-
ing in large shapes.
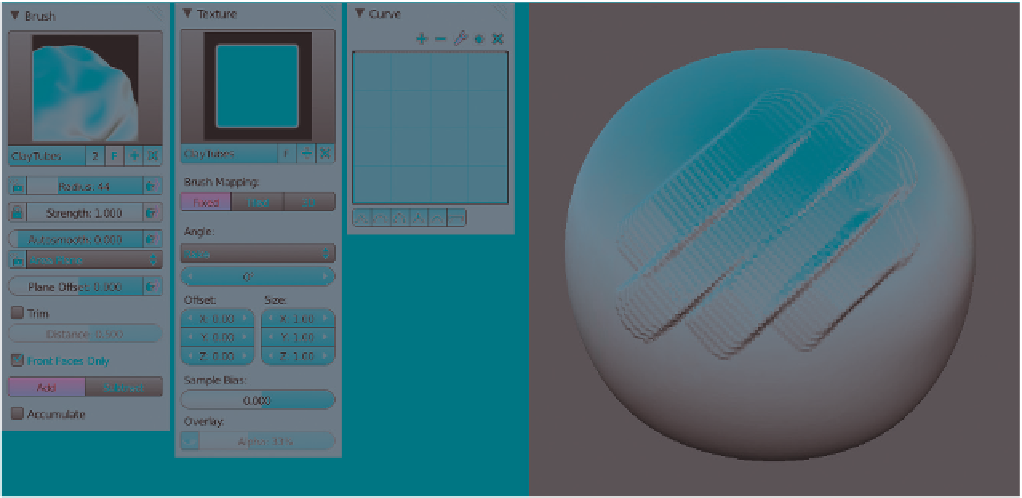
Clay Tubes
The Clay Tubes brush (see Figure 6-5) will be great
for sculpting early on. It works the way traditional
clay sculptors work by adding strips of clay to the
surface of a sculpture to build up forms. To create
a brush that mimics this technique in Blender, take
the following steps:
6.
To stop the usual falloff of the brush, set the
falloff curve to the flat
Max
preset in the Curve
panel.
1.
Duplicate the default Clay brush.
Figure 6-5: The Clay Tubes brush
Search WWH ::

Custom Search