Information Technology Reference
In-Depth Information
11
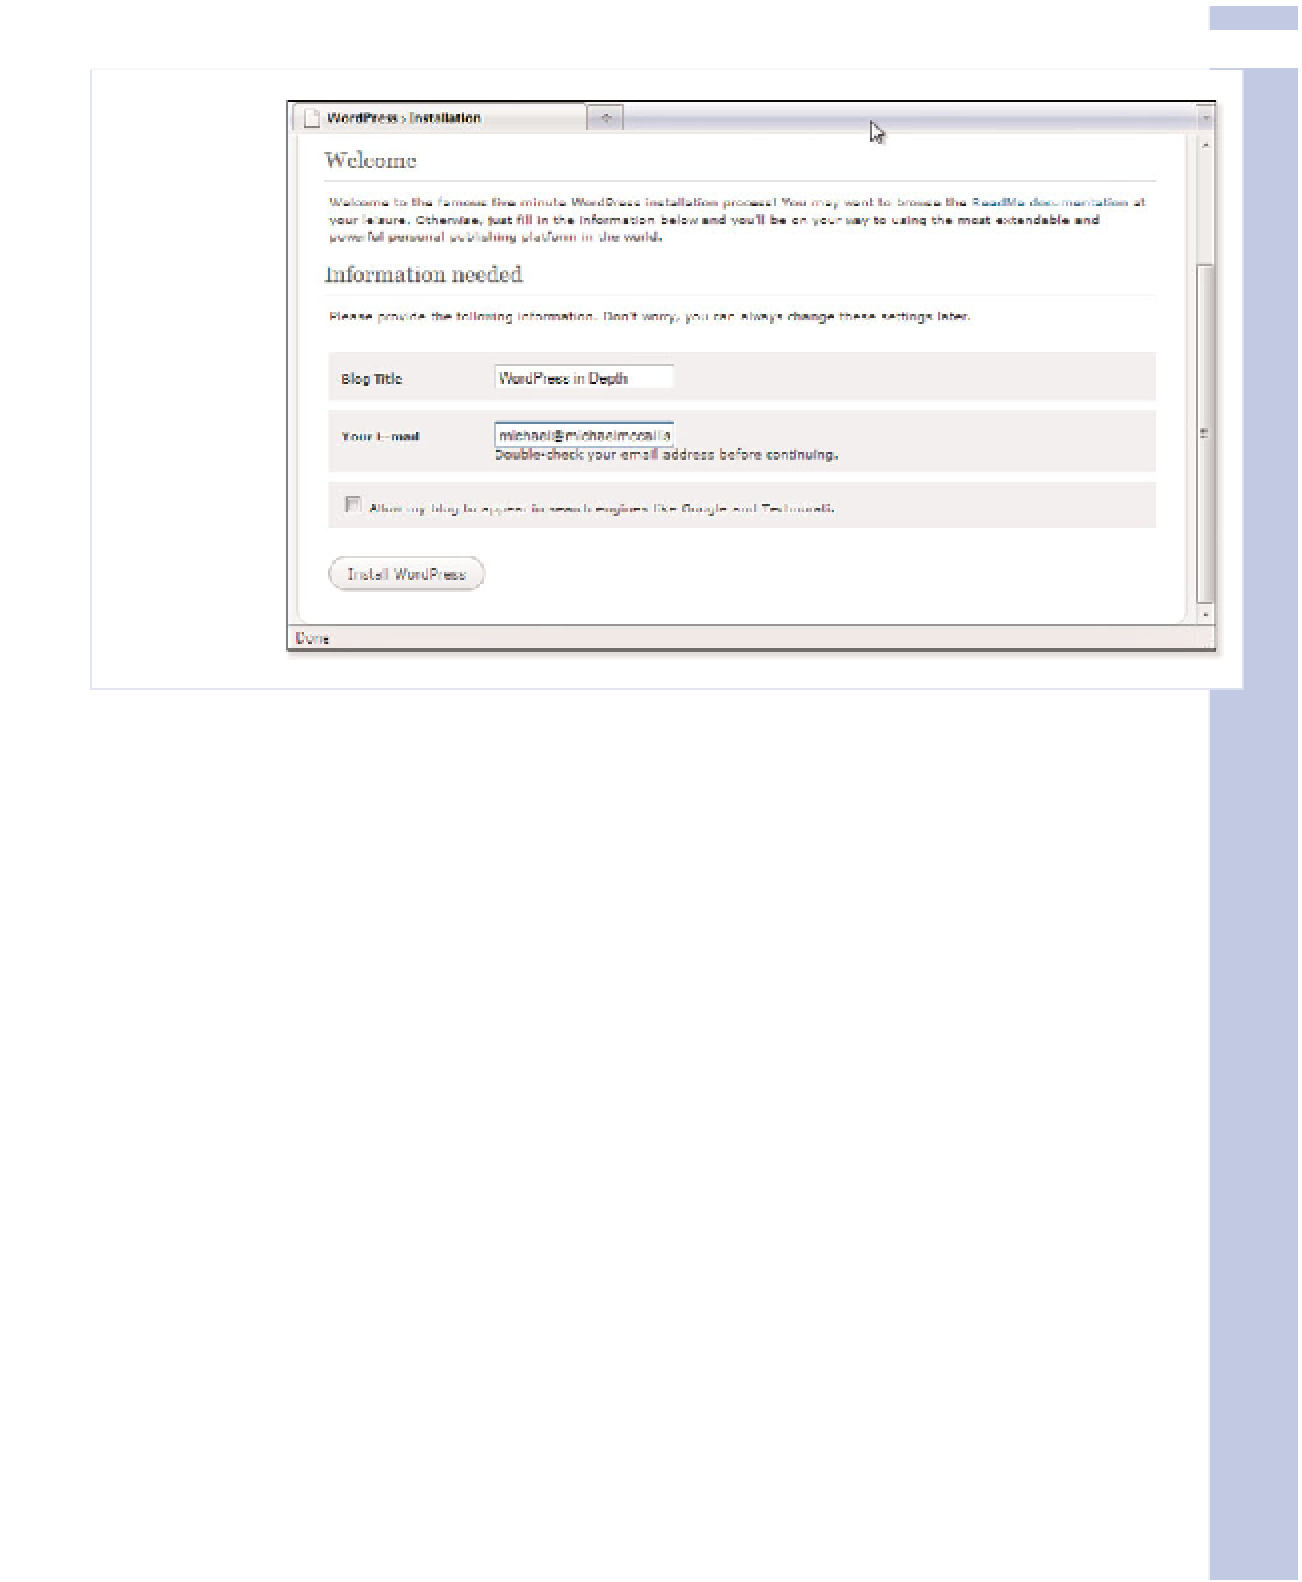
Figure 11.9
Enter your
blog's name
and an email
address on
this screen.
7.
Click the Install WordPress button. WordPress creates the admin user and generates an initial
login password for that user. This user differs from the WordPress database user you created in
the previous section in that you will be logging in to this account on a regular basis to adminis-
ter your WordPress settings. Write this default password down, or copy it to the Clipboard or a
text file. You will need it to log in the first time. This information is also emailed to the address
you listed on the Install screen.
8.
Click the Login button. The standard WordPress login screen appears (see Figure 11.10).
9.
Type in admin for the username and the generated password from step 7. Leave the Remember
Me box unchecked. The admin account should only be used when you have specific administra-
tive changes to make to your blog. You'll create a separate user account for your everyday blog-
ging needs in a few minutes. Click the Login button.
10.
Your administrative Dashboard appears (see Figure 11.11). The first time you log in, WordPress
reminds you that you used the autogenerated password, and asks if you want to change it. The
advantage of keeping the autogenerated password is that it is more secure, and using it makes
it less likely that someone will steal your admin password and wreak havoc on your site. The
disadvantage is that it's usually harder to remember.
The installation is complete. Congratulations!


