Information Technology Reference
In-Depth Information
power connectors. So disconnect the longer of the two fan wires attached to
the Y-splitter and plug each fan wire into the two available fan-connector
slots.
With the mounting of the CPU fan onto the motherboard, you are nearly done
with the most difficult, time-consuming portion of a PC build. All that is left
to do with the motherboard is to connect the remaining case fans and power
and data cables to it. Let's start with the fan and front-panel data cables.
Connecting the Cables
Leave the power supply unplugged until your PC is ready to be
powered on at the end of the build. We don't want any voltage
going through the system unexpectedly during assembly.
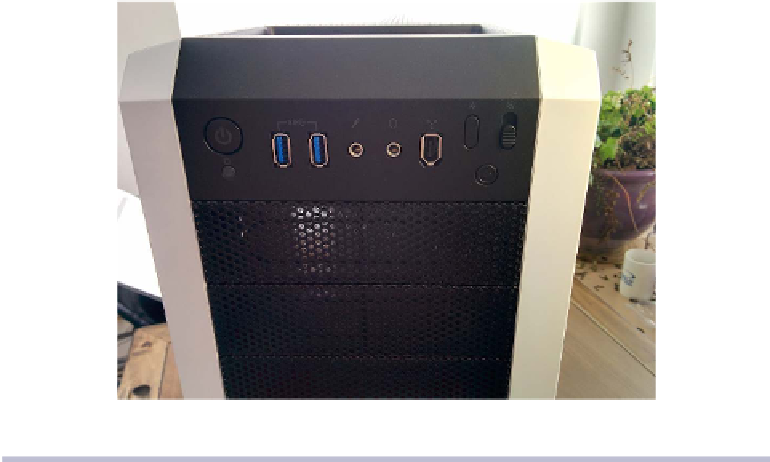
Take a look at the front of PC case. See the openings for headphones, a
microphone, USB, and even an old FireWire port? There's also an LED activ-
ity light for power state and hard drive activity as well as a few buttons to
manage power state, as the next figure shows.
Figure 26—The front panel of the PC case
Now take a look in back of the panel and you will see a bundle of wires leading
from those front-panel connectors. In order for the buttons and data connec-
tors to do their job, we need to attach them to their appropriate connections
on the motherboard. Normally this is done by reading the manual that
accompanies a motherboard and determining which pins are associated with
which wire. Fortunately, ASUS makes this easier by including a pin block