Graphics Programs Reference
In-Depth Information
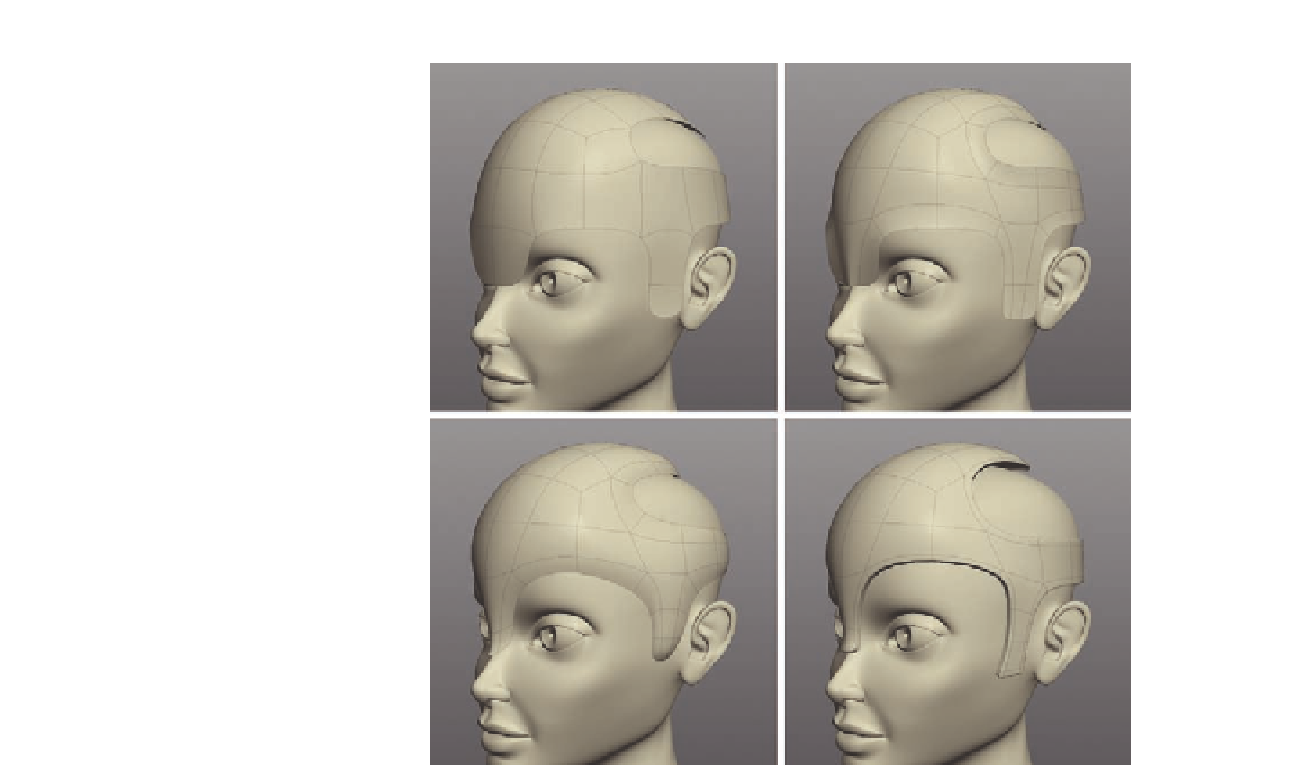
Work on the shape and thickness of the helmet.
FIG. 10.22
●
You will also want to open up the helmet at the back, as per the concept
artwork ( Figure 10.22 ).
(Tip: Refer to the concept artwork to make sure it looks the same.)
With the main shape of the helmet created, let's next build the i n, which will
sit on top.
●
To form the i n, start with a simple cube and
Extrude
the top edge,
rotating each extra section to match the outer surface of the helmet
( Figure 10.23 b).
●
When done, add three divisions around the surface using the Split Loop, or
Cut
tool . This will allow you to shape the rear into the spikes as shown in
Figure 10.23 c.
(Note: We have added a recess around the helmet, but will eventually remove
it later in the chapter. Feel free to play around with dif erent ways to make the
model a little more interesting to look at. If you change your mind, it is easy
enough to remove them again.)