Graphics Programs Reference
In-Depth Information
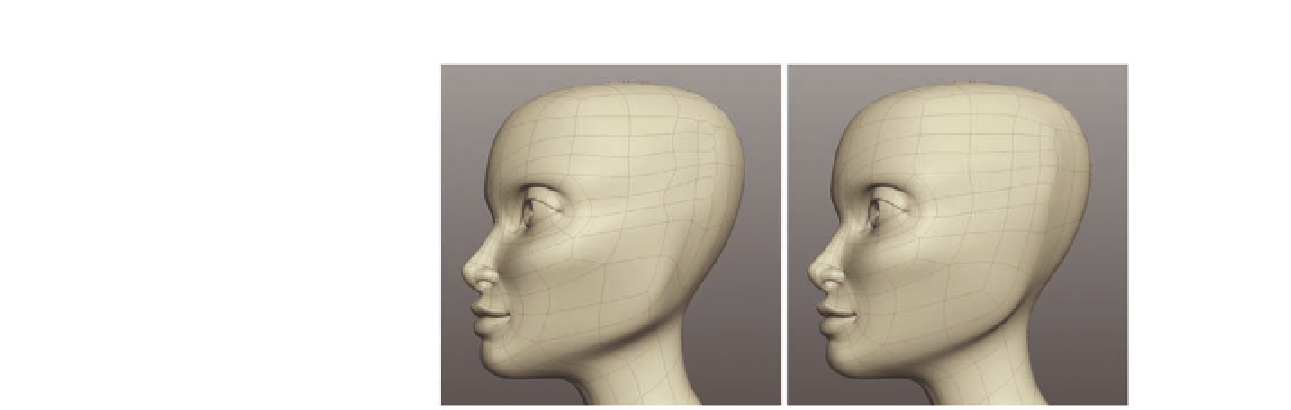
FIG. 8.42
Work on the overall shape
of her jaw.
Next, we will create a hole in the side of her head to mark where we are going
to add the ear. If we do this now, it will give us an idea of how the topology
will be, meaning we can continue to i x the head knowing it will not be
drastically altered by the ear.
●
Select and
Delete
the four quads around the area where the ear will be
( Figure 8.43c ).
●
Next, create a
Cut
around this hole containing it inside a new edge loop
( Figure 8.43d ).
With that done, we can continue to adjust the topology on the head.
●
Select the two edges on the upper head (Figure 8.43e) and
Merge
them.
●
Next, select the edges shown in Figure 8.43f and
Merge
these. What we
have done is reroute the edge loops back toward the ear.
●
Finally,
Delete
the edge dividing the two remaining triangles (Figure 8.43g).
The head is tweaked and optimized, and we have made some early
preparations for the ear. With all these topology changes your model might
look slightly odd, so smooth out the side of her head and work on the overall
shape.
Figure 8.44 shows the current head model.
Neck
Just two more areas to work on before the detailed base mesh is complete.
First, we will i nish the neck area and then build her ears.
Turn to the back of the head. On her upper shoulders, we have an n-gon left
over from when we worked on her spine. We can now continue these cuts,
and remove the n-gon.
●
Start by creating a vertical
Cut
from the inner edge, up onto the back of
her head, as shown in Figure 8.45b.