Graphics Programs Reference
In-Depth Information
4. Preserve Color Numbers
to simulate how the document will appear
without converting colors from the document space to the proof proi le
space. This simulates the color shifts that may occur when the document's
color values are interpreted using the proof proi le instead of the
document proi le. Usually leave this deselected.
Simulate paper color
To preview, in the monitor space, the specii c shade of white exhibited by the
print medium described by the proof proi le.
Simulate ink black
To preview, in the monitor space the actual dynamic range dei ned by the
proof proi le. Selecting this option automatically selects the Simulate Black Ink
option.
If you are not happy with the results, tweak the i le Before printing
1.
Duplicate the i le. Go to Image Menu Duplicate.
2.
Softproof the duplicate (not the original).
3.
Create adjustment layers to compensate for unwanted results. Use these
adjustment layers for printing the image to the specii c printer/paper/
proi le combination chosen. Only out of gamut colors cannot be further
saturated to achieve intensity; however, adding contrast will make the
image appear more luminous.
4.
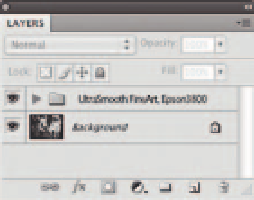
Archive these adjustments in a layer group, named for the specii c output.
III. Sharpening
Sharpening overview
Determining the correct sharpening technique for your images is always a
dii cult task. There are many advanced techniques for sharpening that include
using the Find Edges i lter, sharpening in channels, high pass sharpening, smart
sharpen and many third-party plug-ins. Dif erent output devices and print
mediums require dif erent amounts of sharpening, and that amount is based on
image content and i le size. Sharpening is the last thing you do before printing.
Dodge and Burn, retouch, make image adjustments and corrections, and
size the image for output before you sharpen your image. Sharpening is best
achieved on a separate merged layer or duplicate layer.

Search WWH ::

Custom Search