HTML and CSS Reference
In-Depth Information
Getting to Grips with Capistrano
Capistrano is a deployment platform that helps to remove some of the repetitive
deployment tasks. For a small mobile web application, Capistrano can be seen
as using a sledgehammer to put a nail in a piece of wood. As your application
grows and you eventually have more environments and details to configure
within your application, Capistrano suddenly feels like a breath of fresh air.
In this section, you will focus on simply deploying your application to a
production environment using Capistrano.
The preferred hosting provider for this topic is theserve.com and the preferred
server OS is CentOS 5; however, you're free to use any host of your choice that
provides SSH access.
You should have Ruby installed after following the setup guide in Chapter 1.
Capistrano is a Ruby gem. To install it, go to Commands
Open Terminal from the
App Explorer. A terminal window should open to the right of the window. Enter
the following command to install Capistrano, Capistrano Rsync With Remote
Cache, and Capistrano Multistage:
Windows:
gem install capistrano
capistrano_rsync_with_remote_cache capistrano-ext
Mac/Linux:
sudo gem install capistrano
capistrano_rsync_with_remote_cache capistrano-ext
After Capistrano and all of the required gems have been installed, you can now
capify your project. Go back to the App Explorer and ensure that no items are
selected/highlighted and then go to Commands
➤
Open Terminal. A terminal
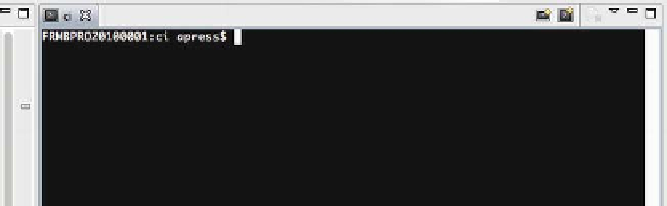
window will open, as shown in Figure 9-12.
➤
Figure 9-12.
Terminal window
This will ensure that any commands run will be run in the root of your project. To
verify this, make sure that
ci
is shown somewhere in the command line, as
shown in Figure 9-12.