Graphics Programs Reference
In-Depth Information
Click and drag to create the shape.
Press and hold the Shift key as you drag to keep your shape proportional.
7
In the Layers panel, double-click the Shape 1 layer thumbnail you just created, and then select white
from the Color Picker when it appears. Click OK.
You will now apply your saved style to the snowflake.
8
With the Snowflake 3 shape layer still selected, choose Window > Styles. From the panel menu,
choose Small list to change the display of styles in the panel to a list of style names.
9
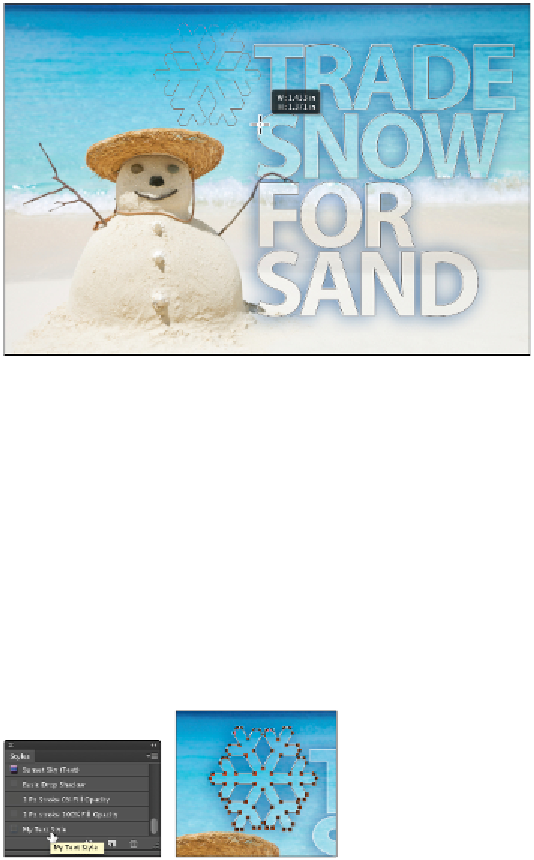
Scroll to the bottom of the list and locate your saved style. (Remember that you called it My Text
Style.) Click it. The style is applied to your snowflake.
Choose your style.
The style is applied to the snowflake shape.
If you don't want to see the paths, press Ctrl+Shift+H (Windows) or Command+Shift+H (Mac
OS). You can also select View > Extras > Target Path.
10
To make the snowflake shape a little less obvious, change the Opacity in the Layers panel to
20%
.
11
Choose File > Save. Keep this file open for the next part of this lesson.