Graphics Programs Reference
In-Depth Information
track to another by sliding, or by clicking, to allow you to direct the flow of audio
or video.
For example, if you have V1 connected and A1 and A2 disconnected, then
video will be edited across into the Timeline and audio will be restricted. In
contrast, should A1 and A2 be connected and V1 disconnected - then only
audio will be edited and the video will remain unaffected.
In simple terms, whatever is connected will be edited into the Timeline and
whatever is disconnected will remain unaffected.
Locking Tracks
An alternative way to edit video and audio
independently of each other is by locking or
unlocking tracks. This provides a very simple
and effective way to prevent either audio and
video or a combination of both from flowing
through to a particular track or series of
tracks. It is as simple as locking the track or
tracks that you do not wish to alter.
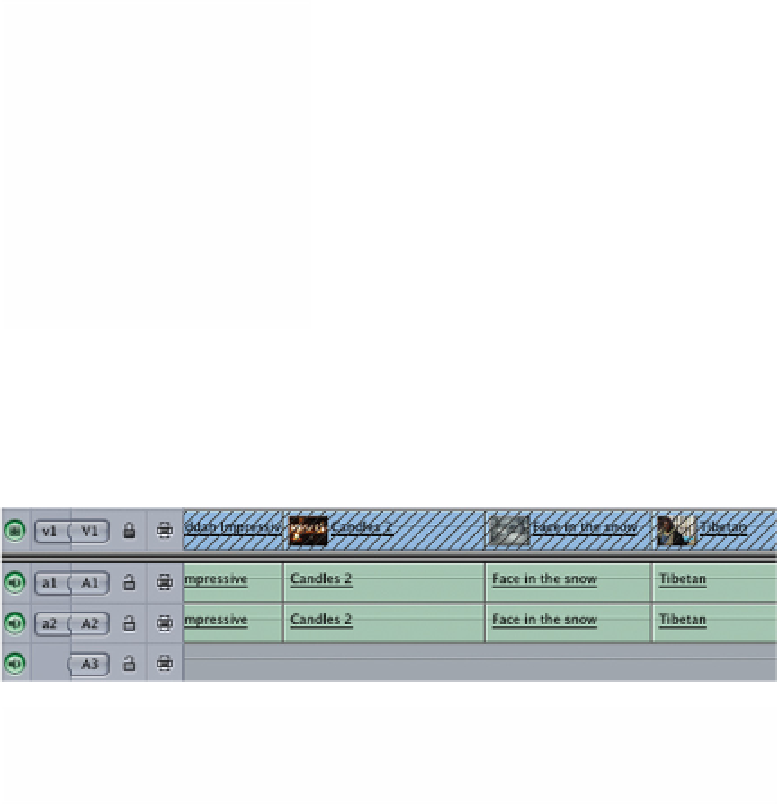
Look to the left-hand side of the Timeline
and you will see there is a single video track
and four audio tracks. This is the default number of video and audio tracks
which Final Cut Pro provides you with when you launch the program.
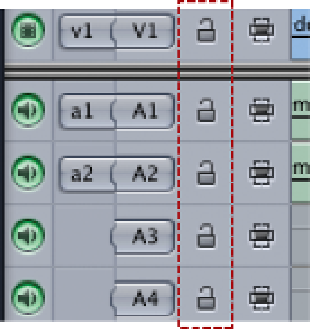
To the immediate right of the V1, A1 and A2 symbols are little locks. Click on
the locks and notice the track or tracks become grayed out.
This means that when you edit material from the Viewer to the Canvas, and
into the Timeline, the only part of the Timeline which is affected is that which is
not locked (or not grayed out).