Graphics Programs Reference
In-Depth Information
These above steps are possibly the most basic overview anyone could give to work
with Compressor, however, providing you can fulfill these then you will get results.
■
1
Highlight a Sequence or Clip in the Browser of
Final Cut Pro, or click in the Timeline to make a
Sequence active.
■
2
Choose the File menu, top left of screen and
scroll to Export Using Compressor.
The Compressor interface will now open in front
of you.
■
3
Choose Window Layouts and
the display of the interface
can then be set. Run through the options and
see the different layouts. Don't be intimidated
by the options. Compressor is very simple to
use. At this stage there are two windows you
need to concern yourself with - the Batch
window and the Settings window. The Batch
window is where you line up your files to be
encoded and Settings is where you choose the encoding format.
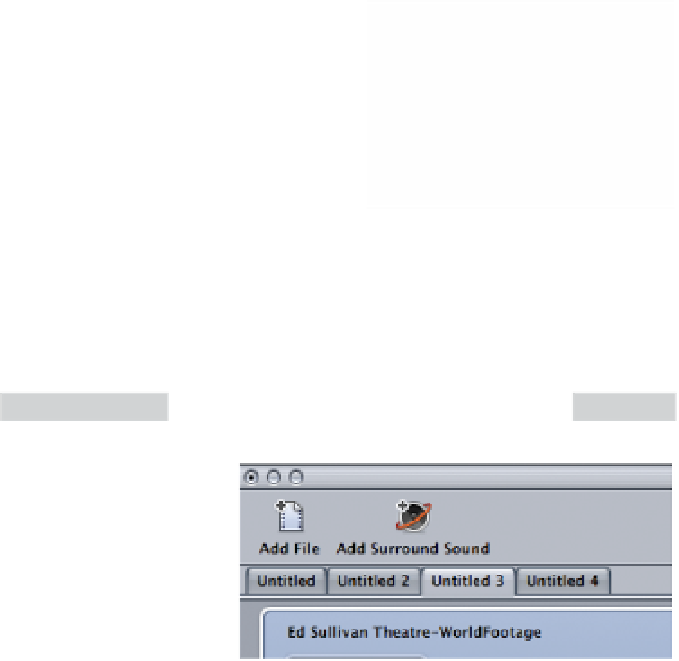
Batch Window
Settings
There is certainly no reason why
you must encode one file at a
time. The Batch window is termed
'Batch' as it provides the means to
encode many files.
If you choose to Export several
Sequences or Clips individually from Final Cut Pro these will be represented by
separate Tabs ready to encode.