Graphics Programs Reference
In-Depth Information
If you wish to delete the keyframe hold down the Alt key and the
Pen tool will now have a minus symbol next to it. If you click on the
keyframe with the minus symbol the keyframe will be deleted.
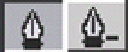
The Pen tool with a minus symbol can also be selected from
the Tool Palette by extending the Pen tools and choosing the
second option.
■
5
Add a second keyframe further along in
the clip. You should now have two
keyframes marked. To create an audio
fade at least two keyframes are required.
■
6
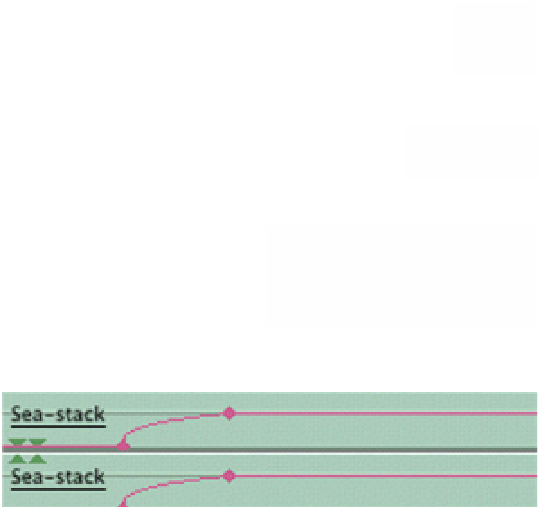
Hold the Pen
tool over the
first keyframe
so that the tool
becomes a small cross. Use the little cross to drag the first
keyframe down to the base of the clip. You should now have a curved
line which starts at the bottom of the clip and rises in a curve to the
top of the second keyframe. Play back the clip and your sound will
rise from silence at the first mark to a defined volume at the
second mark.
For fine adjustments hold down the Shift key while dragging the keyframes up
or down.
It is useful when working with audio to increase the size of the Timeline
vertically, thus giving a better view of any adjustments you make. This is
achieved by clicking on the small boxes located on the bottom
left-hand side of the Timeline. Choose whichever size you feel
most comfortable with.
It can also be useful to increase the overall horizontal size of the Timeline. Use
the Magnifier tool to achieve this or pull on the ribbed ends of the slider bar at
the base of the Timeline. This allows for fine adjustments to be made to the
audio over time.