Graphics Programs Reference
In-Depth Information
6
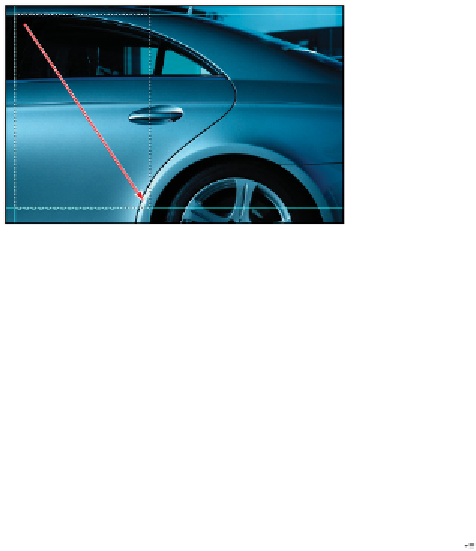
Position your cursor in the upper-left side of the guide in the car image, and drag a rectangular selection
down toward the lower-right corner of the guide. A rectangular selection appears as you drag, and it
stays active when you release the mouse.
Creating a rectangular selection in the image.
You'll now apply an adjustment layer to lighten just the selected area of the image. You are lightening
this region so that a text overlay can be placed over that part of the image.
7
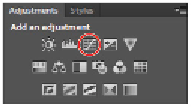
If the Adjustments panel is not visible, choose Window > Adjustments and click the Curves icon; the
Properties panel appears.
Click the Curves button to create a new Curves adjustment layer.
8
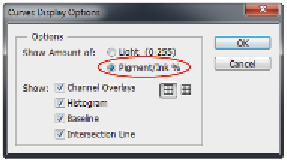
To ensure consistent results, first click the panel menu ( ) in the upper-right corner of the Properties
panel and choose Curves Display Options. In the Show Amount of section, select Pigment/Ink %.
Choosing Pigment for corrections makes the curves adjustment more representative of ink on paper.
Click OK to close the Curves Display Options dialog box.
Select Pigment/Ink % in the Curve Display options.
9
Make sure that you can see additional options at the bottom of the Properties panel, such as Input and
Output. If you do not see these options, click and drag the bottom of the Properties panel to expose
them.