Graphics Programs Reference
In-Depth Information
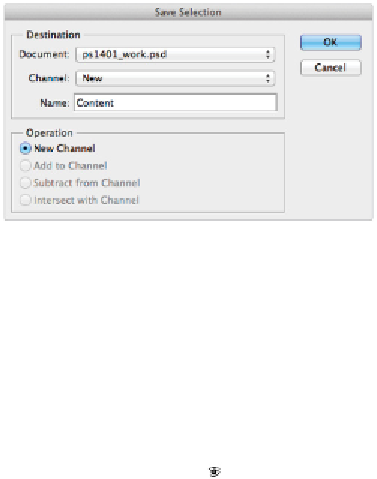
Create a selection for the print area and save it.
6
Choose Select > Deselect, or press Control+D (Windows) or Command+D (Mac OS).
7
Choose File > Save. Keep this file open for the next part of this lesson.
Putting the image into the print frame
In this next section, you will insert the image of the camera that you worked on into the picture frame. To
do this, you will reselect your saved Content selection and apply it to your Print layer.
1
With the
ps1401_work
file still open, click the Camera layer to activate it.
2
Click the visibility icon ( ) to turn the visibility of the Camera layer back on.
3
Select the Move tool ( ) and reposition the image of the camera so it is on top of the blank photo frame.
4
Press Control+T (Windows) or Command+T (Mac OS) to transform this image. You might receive an
error message alerting you to the fact that Smart filers will be temporarily disabled while you are trans-
forming this layer; click OK.
Since the Smart Filters are disabled, your image might look different. This is fine; the image correc-
tions you made earlier will return after you complete the resize and rotation of the image in the fol-
lowing steps.
5
Using the Transformation handles, press and hold the Shift key and click and drag inward any of the
corners to make the camera image smaller. In our example, the image was scaled down to about 75%.
You can also type
75
in the Width text field, and then click the Maintain aspect ratio chain icon ( ) in
the Options bar.
You can see the scale percentage in the Options bar at the top of the workspace.
6
Position the cursor outside the lower-right corner transformation handle and click and drag upwards to-
wards the right; this rotates the layer content. In this example, the content was rotated about -2.5 de-
grees. You can also type
-2.5
in the Rotate text field in the Options bar. Select the Confirm check mark
( ) in the Options bar when you are finished transforming this layer.