Graphics Programs Reference
In-Depth Information
Slicing it up
No slicing has occurred at this point. In this part of the lesson, you will use options that are available when
using the Slice tool to easily create your slices.
1
Click and hold the Crop tool to select the hidden Slice tool ( ). Note that the options change in the Op-
tions bar.
2
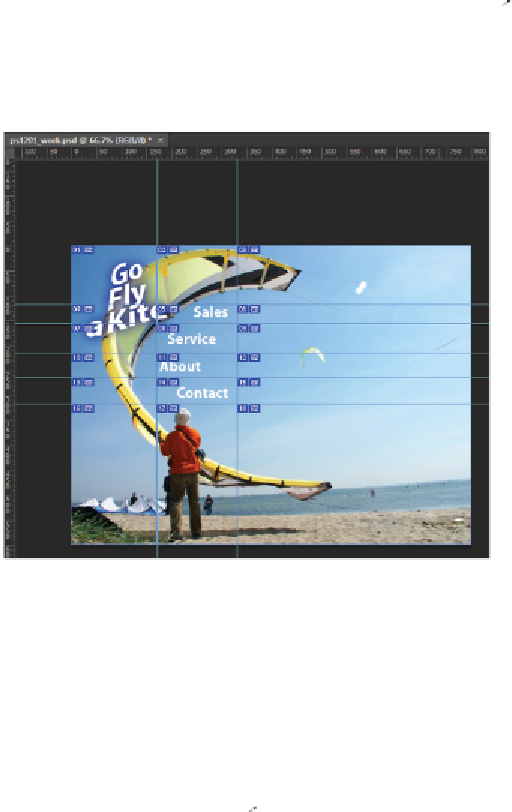
Click the Slices From Guides button in the Options bar. Your image is automatically sliced into several
smaller images, based on the location of your guides. The image is not actually sliced in Photoshop, but
will be when you save the file in the Save for Web section of this lesson.
The slices created from the position of the guides.
3
Choose File > Save and keep this file open for the next exercise.
Selecting and combining slices
In this section, you will select several slices and combine them into one slice. You can combine and divide
slices easily using context tools in Photoshop. You will first remove the guides, since you no longer need
them.
1
Choose View > Clear Guides. The guides are cleared, but the slices remain.
2
Click and hold the Slice tool ( ) to choose the hidden Slice Select tool ( ). Using this tool, you can click
to activate and adjust your slices.
You will now select all the slices that are not going to be hyperlinks and combine them.
3
Using the Slice Select tool, click the large slice in the lower-left corner of the image. Then Shift+click
each of the slices above. This adds each slice to the selection.
4
When you have selected all the slices on the left side, right-click (Windows) or Ctrl+click (Mac OS) and
select Combine Slices from the menu. The slices are combined into one slice.


