Graphics Programs Reference
In-Depth Information
6
Choose File > Save. Keep the file open for the next part of this lesson.
Using the Clone Source panel
When using the Clone Source panel, you can set up to five clone sources for the Clone Stamp or Healing
Brush tools to use. The sources can be from the same image you are working on or from other open im-
ages. Using the Clone Source panel, you can even preview the clone source before painting, and rotate and
scale the source. In this section, you will clone the upper-left corner of the
ps0505_work.psd
image and
rotate it to repair the upper-right corner of the image. You will also define a second clone source to add an
art deco border around the edge of the image.
1
Make sure that
ps0505_work.psd
is still open, and choose View > Fit on Screen.
2
Choose Window > Clone Source to open the Clone Source panel.
3
If it helps to zoom in to the image, press Ctrl+plus sign (Windows) or Command+plus sign (Mac OS),
and then scroll to the upper-left corner.
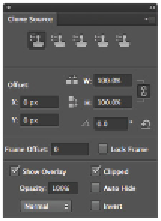
The Clone Source panel.
The Clone Source panel displays five icons, each representing a sampled source. You will start out us-
ing the first clone source.
4
Choose the Clone Stamp tool ( ). Verify in the Options bar that the Mode is Normal and Opacity is 100
percent.
5
Press the ] (Right bracket) until the Clone Stamp size is approximately 80 pixels. The size is indicated
in the Options bar.
6
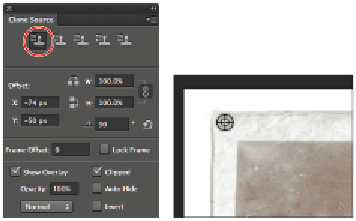
Click the first Clone Source icon in the Clone Source panel and position your cursor over the top-left
corner of the image. Press and hold the Alt (Windows) or Option (Mac OS) key and click to define this
corner as the first clone source.
You will now use this corner to replace the damaged corner in the upper right.