Graphics Reference
In-Depth Information
Then, the
sintel_skin_bmp.png
map has been connected to the Bump node for the per-
shader bump effect.
Note that because we used the color map to obtain all the others, certain areas of the images
are wrong; for example, the eyebrows, shown in pure white on the specularity maps, should
have been removed. In any case, this doesn't show that much on the final render, and the
result is more than acceptable.
Creating fur and hair
Fur, in the world of computer graphics, is considered among the most difficult things to
recreate, both because it's generally quite expensive from a memory management point of
view (a single character can easily have millions of hair strands) and also because it can be
quite a task to make a believable shader that can work under different light conditions.
Blender is not new to fur creation; the exact goal of the open movie
Big Buck Bunny
was to
add tools for fur creation to the Blender Internal rendering engine, and it did it through a new
type of primitive, strands, which have to be enabled in the Particle panel (the Strand render
item); strands are very instanced on the particle system, but they can be edited, combed,
and tweaked in several ways to obtain the best possible result.
Almost the same concept applies for the Cycles rendering engine; there's no need to enable
the Strand render item anymore, because strands are rendered automatically by Cycles
when the Hair item is selected as Particle Type.
In fact, once the Hair item's Particle Type has been selected, you will find two more subpanels
at the bottom of the Particle window: Cycles Hair Rendering and Cycles Hair Settings.
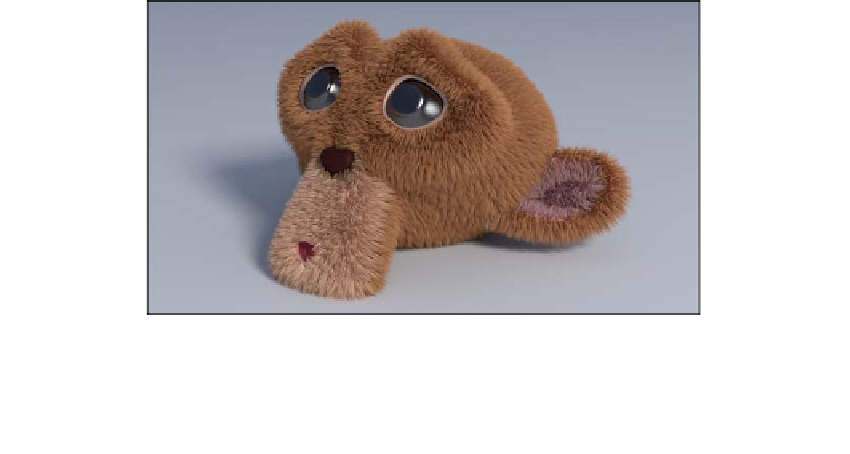
Here is a screenshot of the teddy bear Suzanne in the Rendered view:
The Rendered teddy bear Suzanne