Graphics Reference
In-Depth Information
11. Go to the Render window, and under the Sampling subpanel, set both the Clamp
Direct and Clamp Indirect values to
1.00
. Set the samples to
100
for Render and
50
for Preview (you can obviously change these values according to the power of
your machine).
Now, because the shader we are going to build is largely transparent, we need to
simulate the water body as seen from above the surface.
12. Add a new Plane in Edit Mode and scale it
10
times bigger (20 Blender units per
side; press
Tab
, then press
S
, enter digit
10
, and press
Enter
). Exit Edit Mode and
move the Plane so that it is centered on the ocean Plane location, then move it
1 unit down on the
z
axis. You can do it like this: go to the Top view and move the
new Plane of 7 Blender units first along the
x
axis and then along the
y
axis. Then
press
G
, press
Z
, enter digit
-1
, and press
Enter
.
13. In Edit Mode, press
W
to subdivide it by the Specials menu. Then press
T
to open
the Tool Shelf panel on the left, and under Number of Cuts in the Operator panel
at the bottom, and select 3.
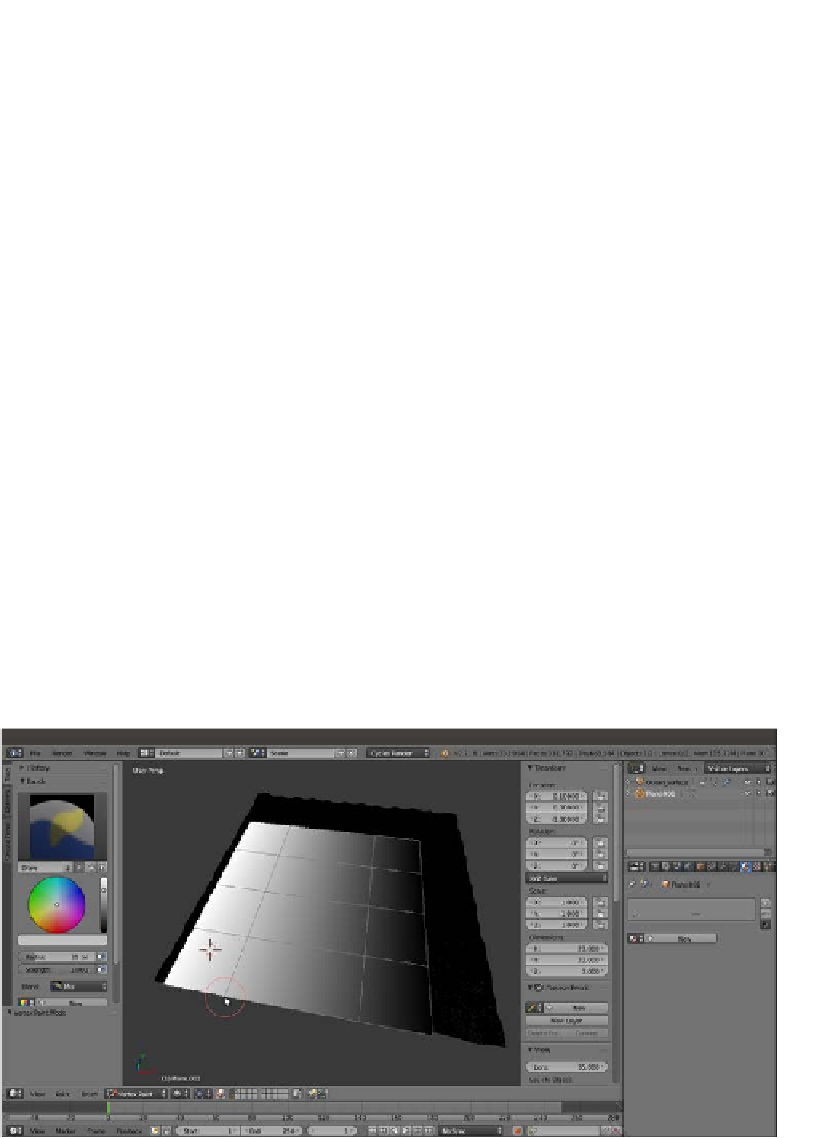
14. Go to the Vertex Paint mode and paint a very simple gray-scale gradient, changing
from black at the vertices close to the Camera location to a plain white color on the
opposite side.
There are five rows of vertices on the Plane (ideally, all the rows are along the
global
x
axis), so you can paint the first row with RGB value as
0.000
, second with
RGB value as
0.250
, third with RGB value as
0.500
, fourth with RGB value as
0.750
, and fifth with RGB value as
1.000
to have a perfect gray-scale gradient.
15. In the Object data window, under the Vertex Colors tab, rename the Vertex Color
layer as
Col_emit
. Have a look at the following screenshot:
The Ocean_Bottom plane with the painted Vertex Colors layer